September 2012
Monthly Archive
Fri 28 Sep 2012
Posted by Diuternity under
Colloidal SilverNo Comments
I was brushing my teeth and slipped and cut my gums. Now every time this occurs, I have an open sore that takes at least a week and half to heal. Swished colloidal silver for 20 seconds every night for three nights and now it’s healed. Hasn’t healed completely but at least it doesn’t sting or is uncomfortable to chew. Yah for colloidal silver!
Sun 23 Sep 2012
Posted by Diuternity under
Computer-HelpNo Comments
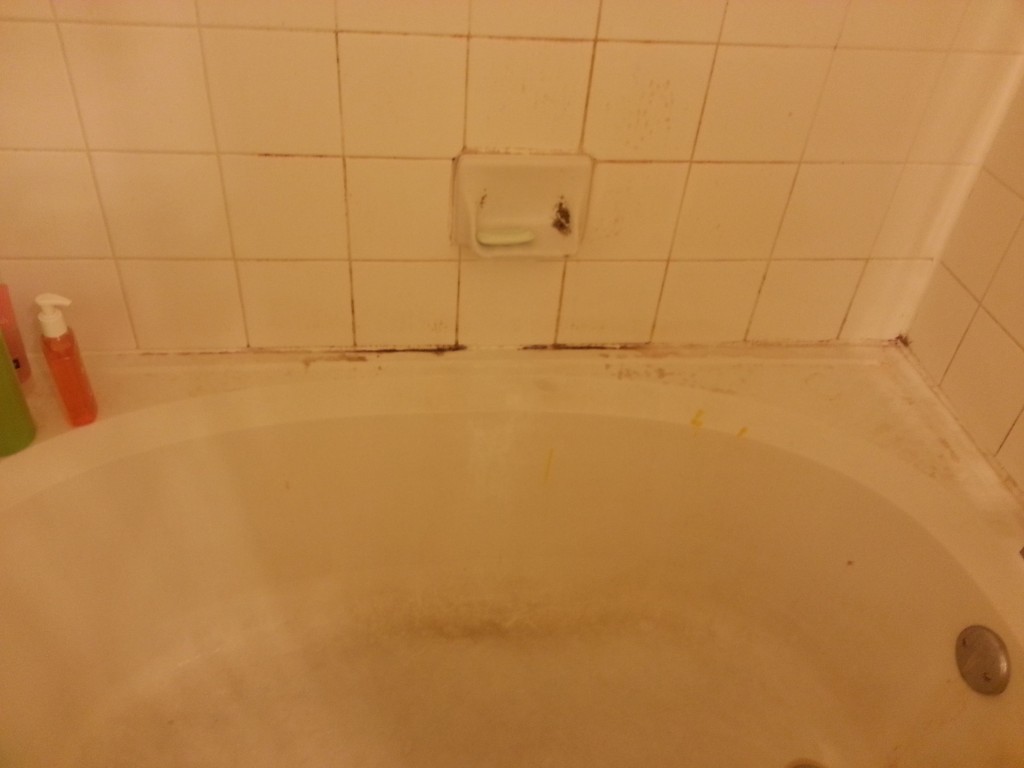
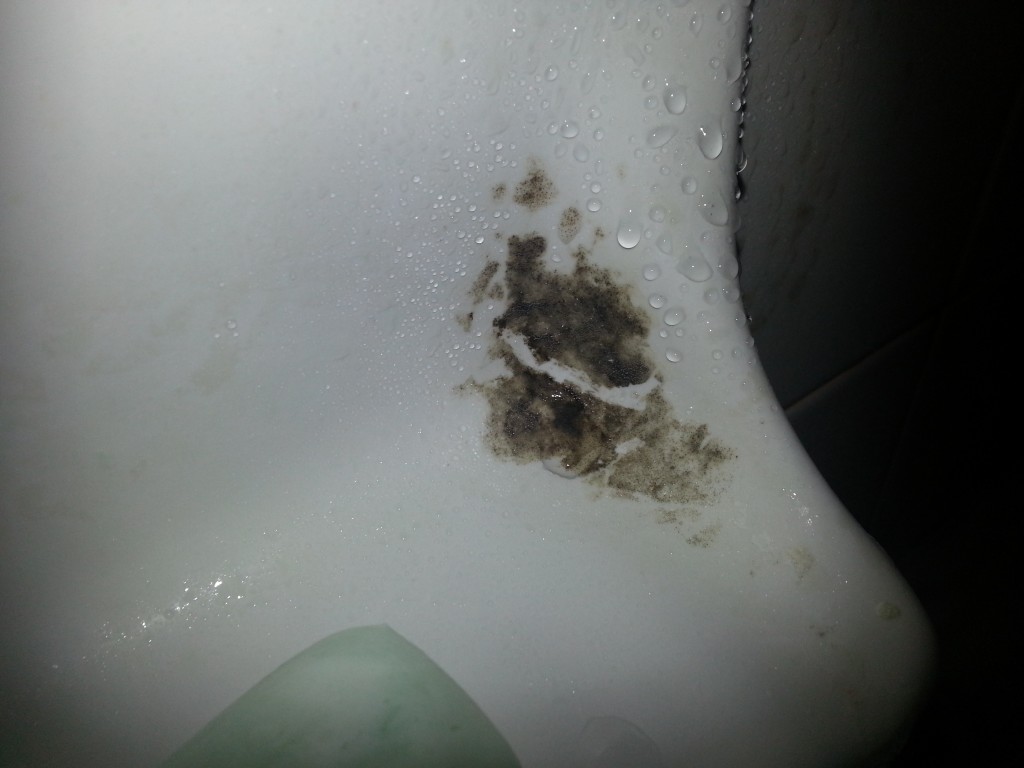
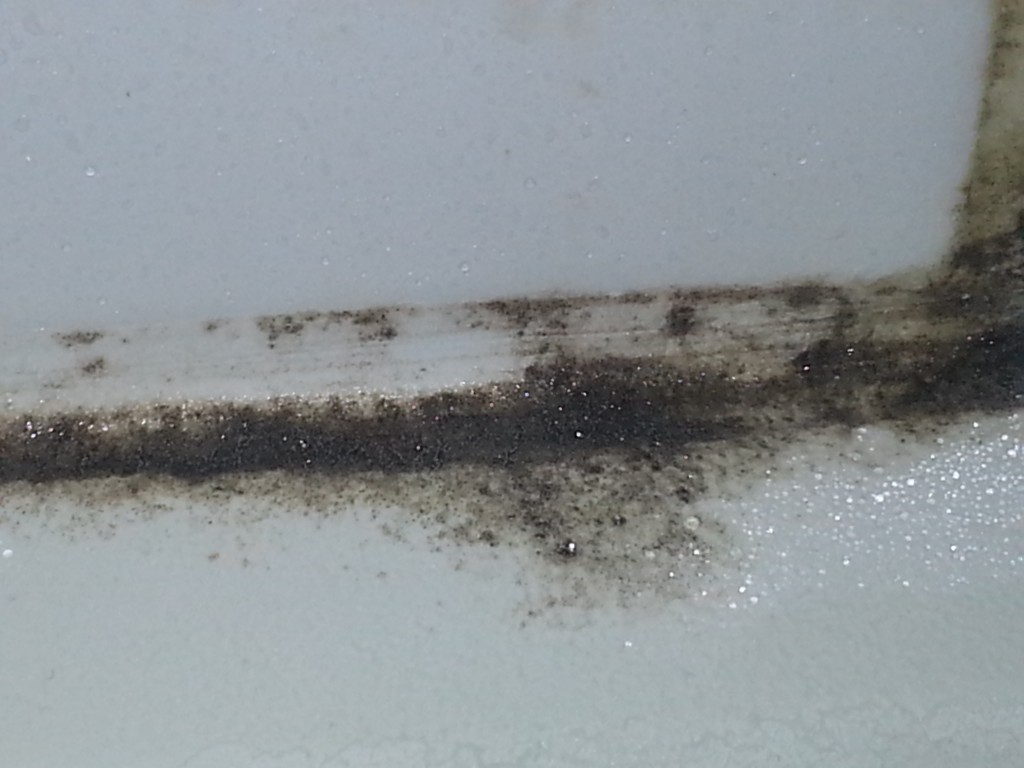
I tried bleach and that didn’t do anything to the mildew. I figured hey lets try colloidal silver… Came back 24mins later and the mildew looked like it was coming off (as if it lost its grip on the tiles). I wiped it off with a napkin and it wiped off so easy. I had tried to scrub it with a pad and comet and NADA. Colloidal silver rocks!!!
Sat 22 Sep 2012
Posted by Diuternity under
Colloidal SilverNo Comments
I made it possible ;). I took out the third batch that was 13PPM and re-cooked it. Went from 13PPM to 22PPM @ 32v & .68ma. I’m very happy of the results. Now I have 3 gallons of high quality 20-22PPM colloidal silver that I have stored away in a deep crevice for future use! Loving it!!!
Fri 21 Sep 2012
Posted by Diuternity under
Colloidal SilverNo Comments
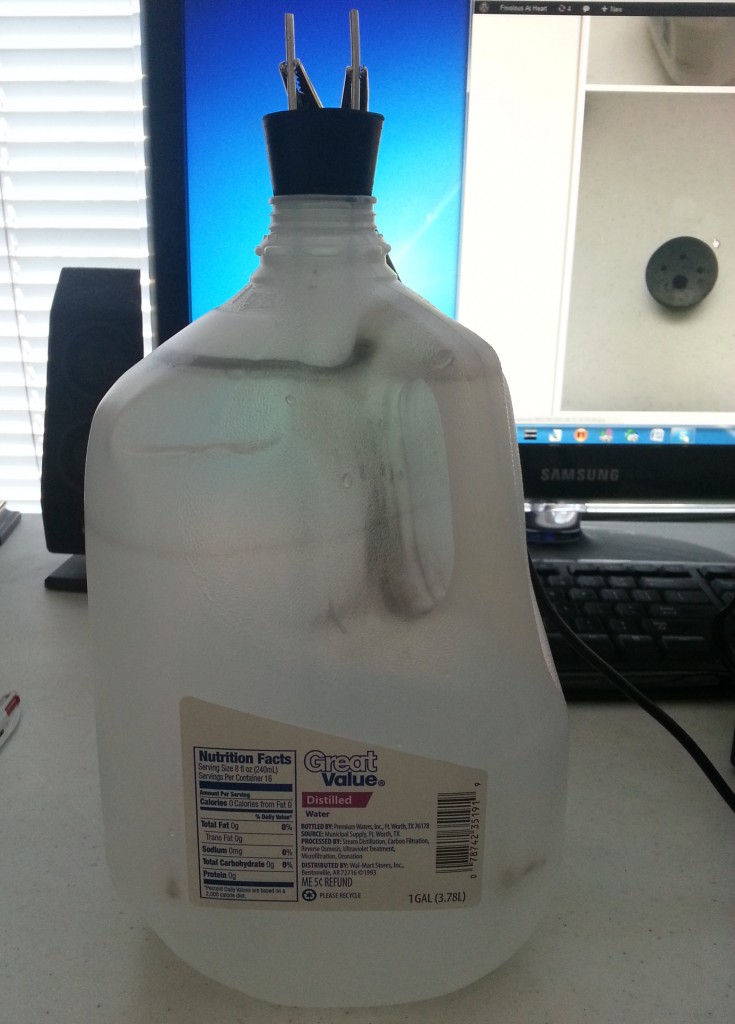
They are a little bigger than I had expected. I guess eyeing the measurement of the one gallon jugs was a bad idea ;( It’s okay because I got 5 in a pack and I’m sure I can cut them down some how. It’s funny because since I made this order, I decided not to make colloidal silver in the one gallon jugs anymore b/c I like making CS in the gallon pitcher. I should have ordered 6.5.
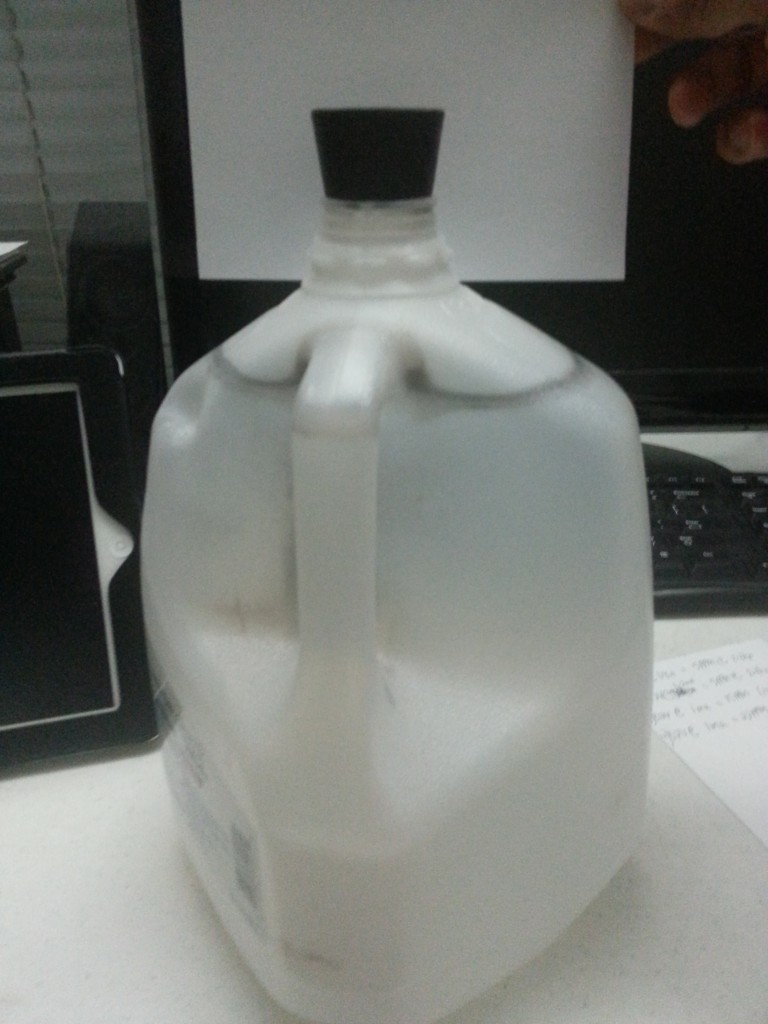
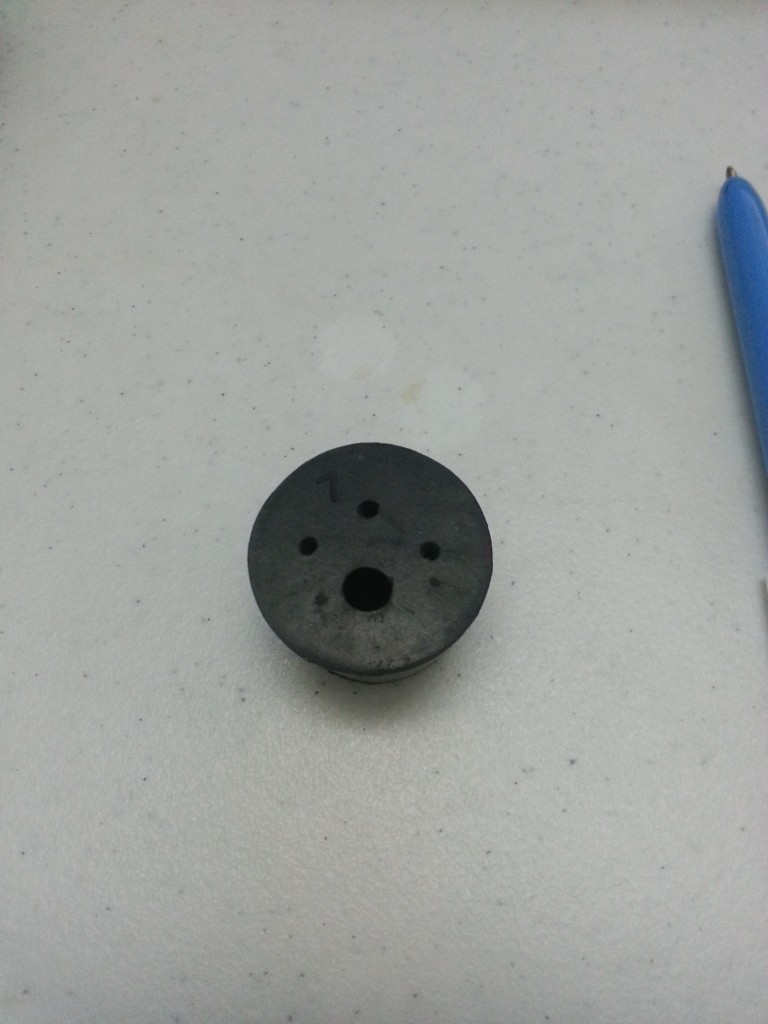
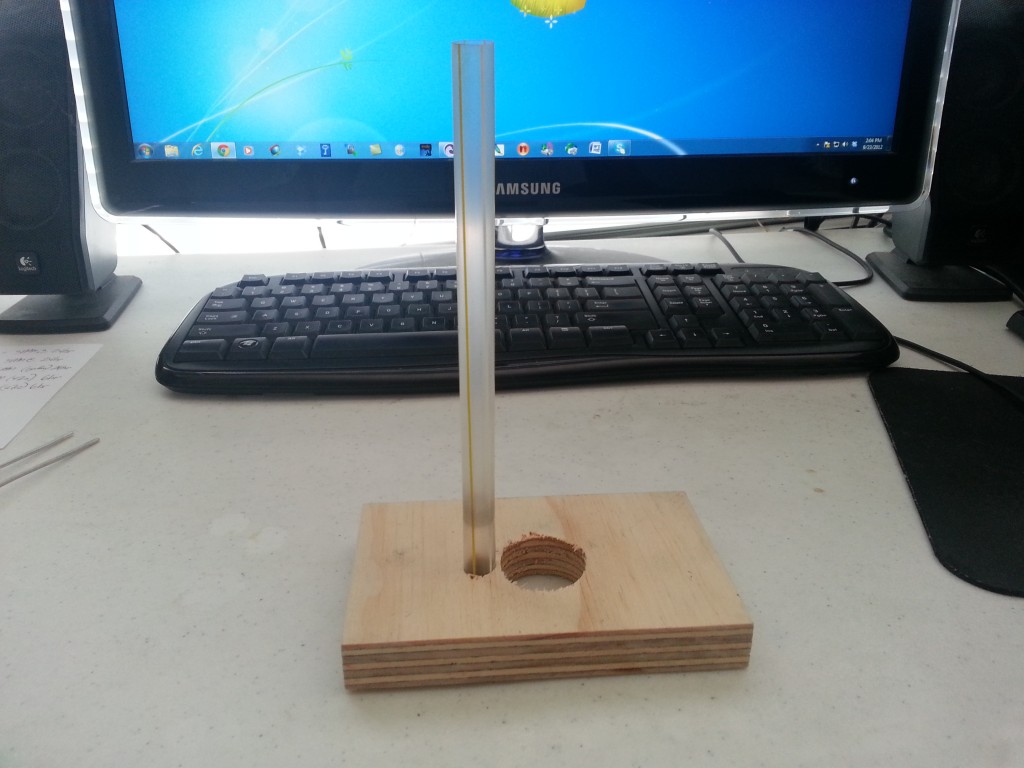
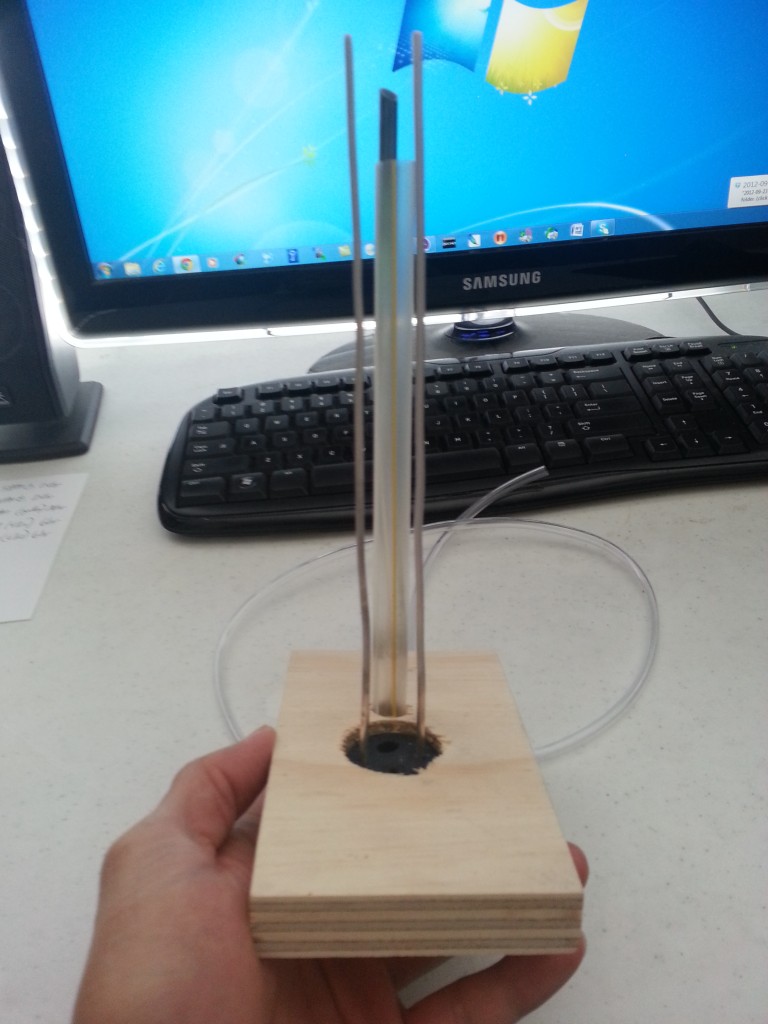
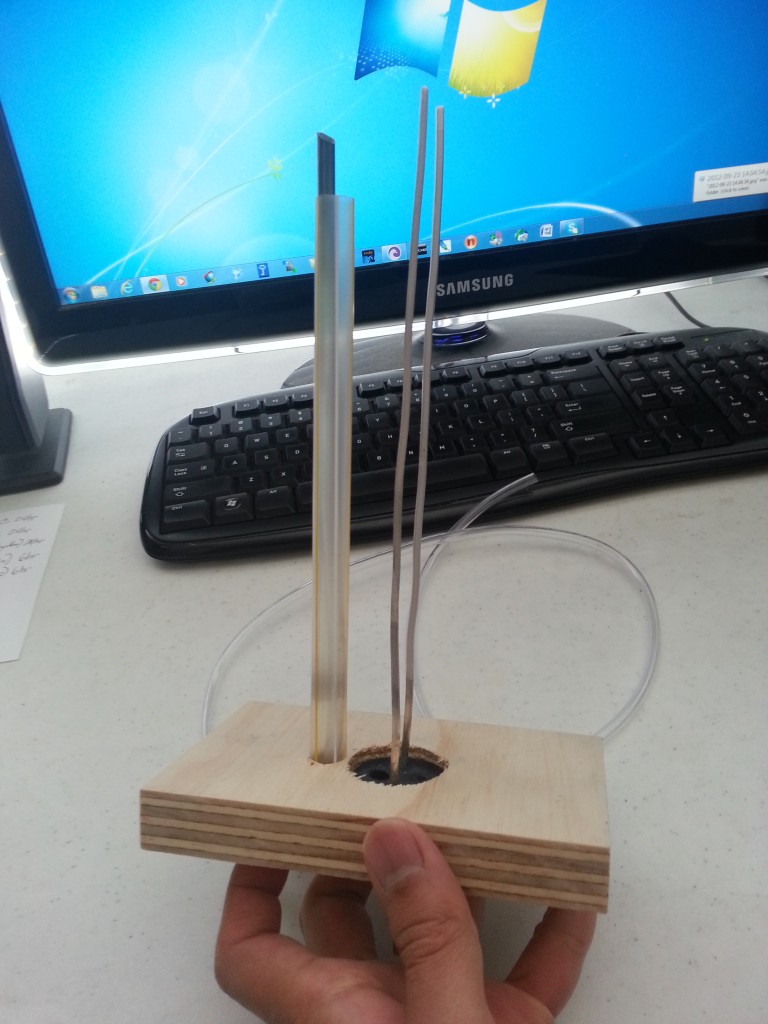
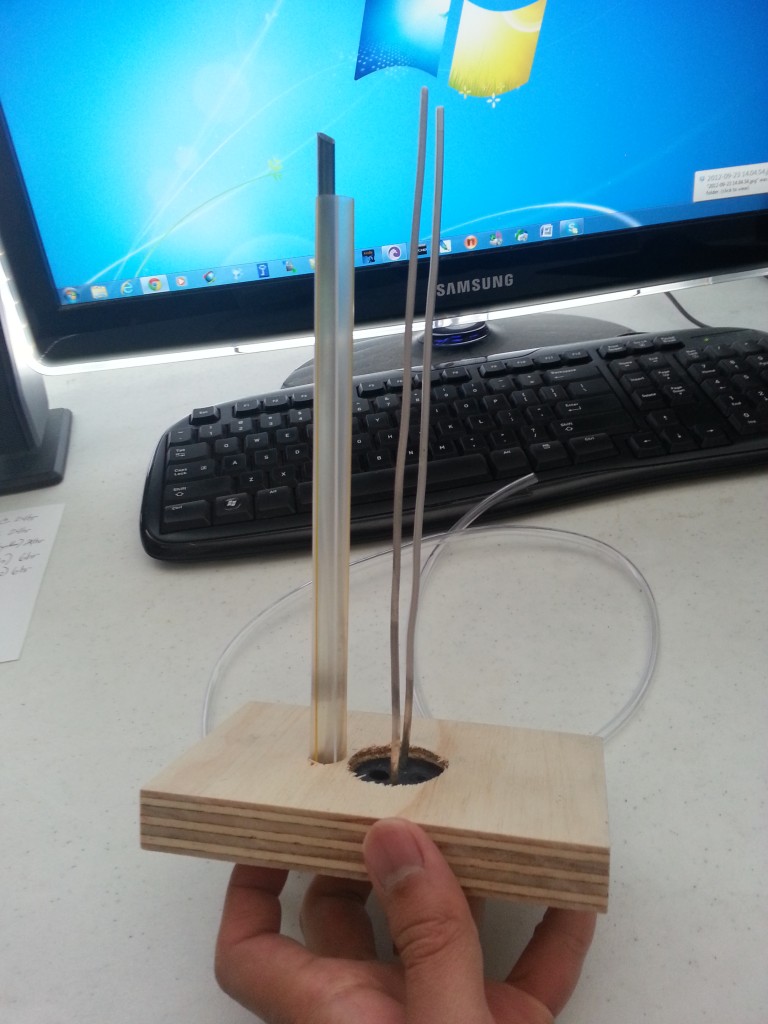
I also use the same setup for cooking CS in a 47 oz jar but with a different twist. This works perfect because the air bubbler is right under the two rods and prevents and sludge build up on the rods completely. The sludge settles on the bottom like it should while keep the rods nice and clean. One of my rods is severely worn down because of the sludge build up left on there after a 24 hr cook. It wont happen again if I cook in the 47 oz jar. I want to do the same thing for the gallon jugs but that will be tricky.
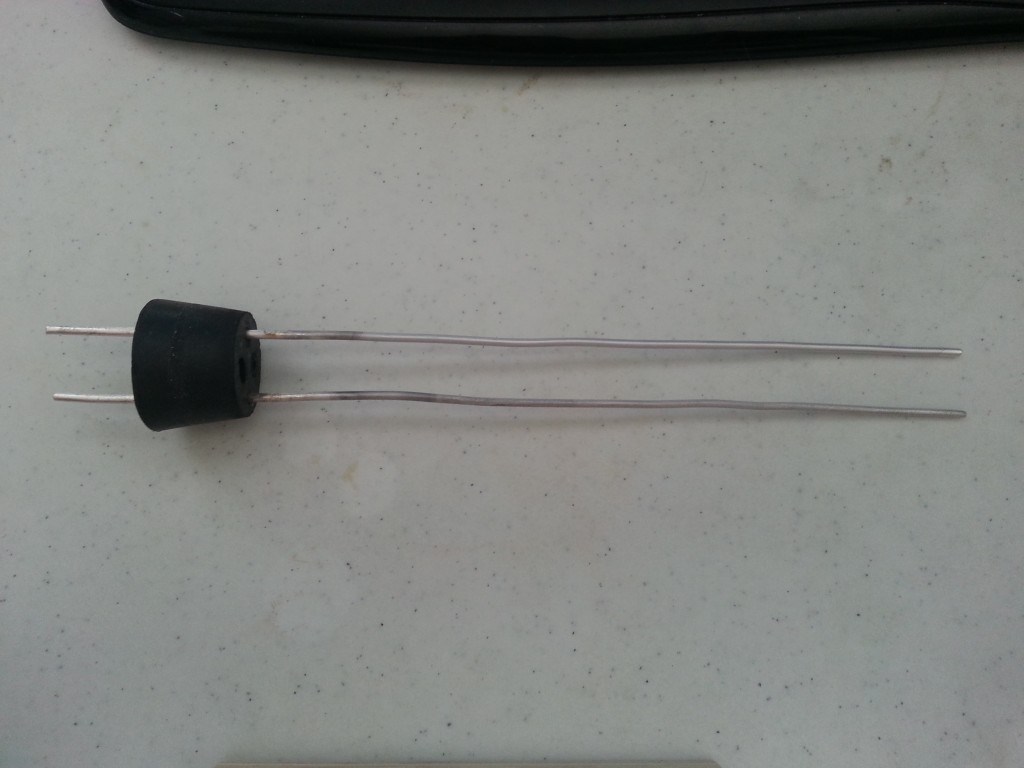
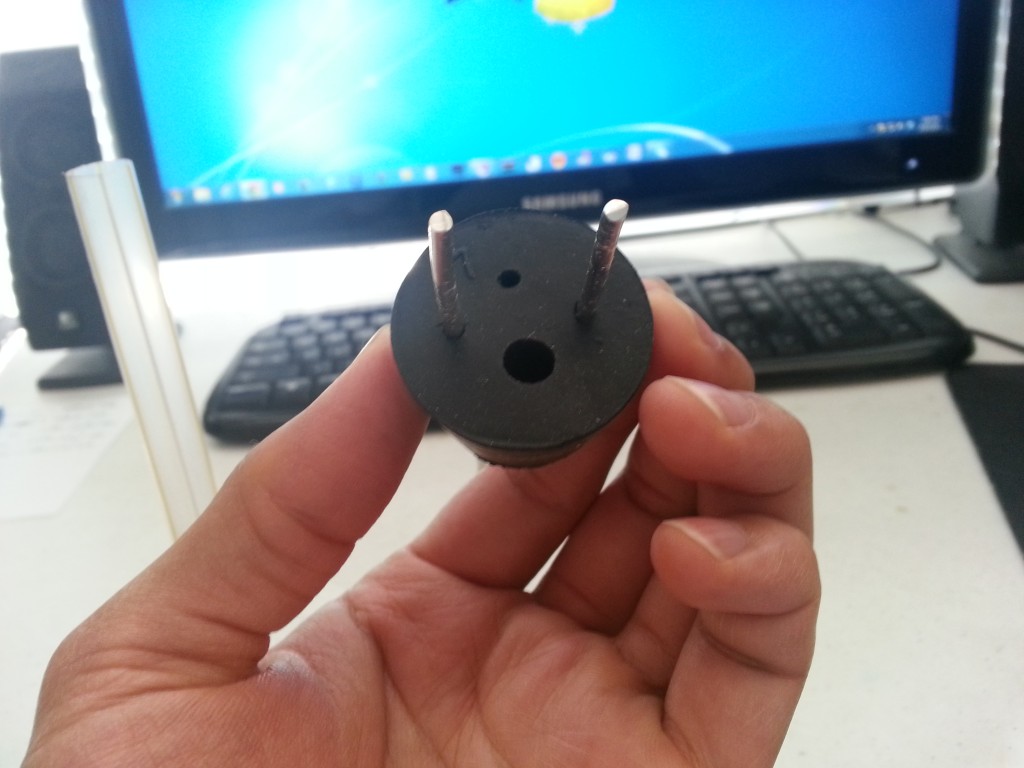
The boba straw worked out pretty good. It forces the air tube to be straight and right under the anode and cathode. Works out great! I know I can do better if and when I get a chance to go to Home Depot ;). Sludge settles to the bottom while keep the silver rods completely sludge free!
Wed 19 Sep 2012
Posted by Diuternity under
Colloidal SilverNo Comments
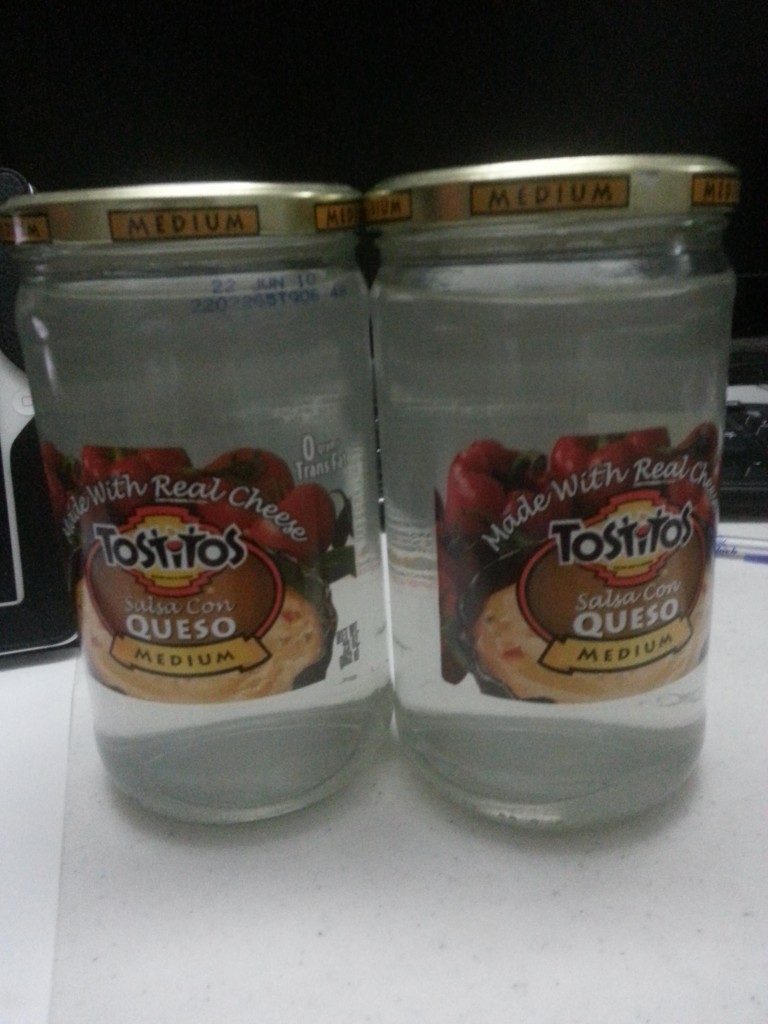
This time in a 47oz salsa glass container. This is the best batch I have made so far. The results I got was not expected. For a six hr run, I ended up with 22PPM. The last batch was 24hr and only 15PPM (rested after filtration and it was only 13PPM). I filtered the production bc it had a lot of sedimentation and put it right back in the jar to continue cooking till the end of the 6th hr.
I think what happened was that the resistance in the water is low because of the high content of dissociated silver in the water making it more electrically conductive, and thus it was producing silver ions btwn the cathode and anode more quickly which then increased the clumping. Slow and steady is the name of the game! Which is why i’m not increasing the current above 1ma (unless further deduced on future cookings depending on the results).
I was thinking why not have a fish filter with the input tube all the way down to the bottom of the jar to filter up any agglutinated silver particles coming from the silver rods? I think that’s a great idea! I’ll try that next time after I use up all my colloidal silver. I’m going to discard the first two batches and just use the 22PPM CS.
I need to figure out why when cooking 1 gallon batches, it takes 24hr to achieve just 13PPM and result in a lot of residue. I have a theory on why it is so. Looking at other professionally made kits, they are utilizing above 32volts and have a lot more silver than I do. Well I wouldn’t say a lot more silver bc i’m using 1 troy oz of silver. The surface area of CollGen2 Machine is more condense vs so stretched out like the rods I’m using. They use 1 silver bar and the other bar is just stainless steel (from what I can see from this Youtube video). Similarly Atlastnova (I purchased my silver from them) utilizes the same method but with 4 rods of 10 gauge silver to produce CS in one gallon batches. TheSilverEdge uses the same method as me but what he might be doing different is maybe using more voltage on this Youtube video. So I have to run a few tests with each batch maybe having more voltage and or just a little more current. I know I don’t want to exceed 1.5ma. I’ve done some calculations and I want to run 48volts @ 0.58ma on the gallon batches. We’ll see next time!!!
Bellow is my 4th batch and it is the best batch so far @ 22PPM!!! It’s crystal clear! 46oz of pure goodness that would have cost me $87 on amazon ;). This batch cost me 6hrs while I was studying + the cost of the distilled water (the contraption took to make it payed for itself 10 folds so far!!!).
Tue 18 Sep 2012
Posted by Diuternity under
Colloidal SilverNo Comments
I couldn’t wait for the items to come in to make my magnetic stirring device so I caved in (couldn’t help it b/c I was itching for another cook) and use a method which I thought I wouldn’t do: air bubble circulation! I’m going to try it regardless what i believe. If Watchman has done it for more than 15+ yrs- the hell am I waiting for?
Here is my setup:
1) $18 Hp 8500 printer brick rated at 32volts & 2 amps
2) $6 aerator from wally + $2 tubing
3) $5 volt meter to measure the ma
4) $2 for a pack of five 33k-ohm resistors
5) 2 alligator strips
6) $74 1oz of .9999 silver rod
7) $1 Gallon of distilled water
Damn that’s more simple than the magnetic stirring device i’m fixing to build (I wanna build it anyways just because i’m freak’n cool). I know this method will not produce 5PPM CS in 24hrs or will it? Other setup was at 9.22volts & 6ma. This setup is 32volts and 1ma. the high voltage will help push out silver particles but the current is so low that it will make finite particles. Remember that current (amperage) is what determines the size particles of your silver and not necessarily the volts. We’ll see the end result within a day. This is going to be fun!!!
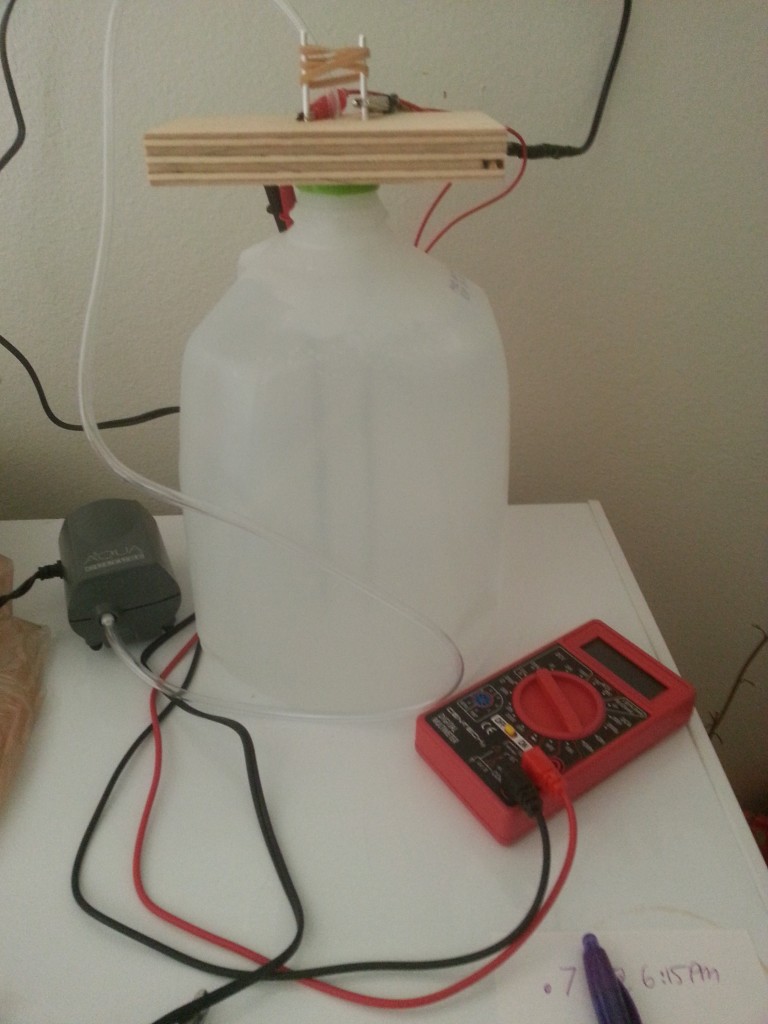
UPDATE: I just checked on this at 8:52 and I already have 1PPM. That’s amazingly fast compared to the old setup. I’m sure If I go to sleep and wake up in the morning, it will be overcooked!!!
UPDATE: I just checked at 9:55PM and it’s 2PPM. This is without any whiskers building up on the silver rods. As I suspected: water agitation prevents this!!! I’m super stoked!!!
UPDATE: Running for 5hr 45mins = 5ppm. Leaving it on till 6:15am for a total of 12hr cook time. This is such an efficient way of cooking b/c the agitation of the water breaks away any of the sludge build up and allows the current to flow more freely to make CS at a constant rate. This makes me want to build the magnetic stirring device even more so! One thing to note is with the other previous setup: at 4PPM the batch was starting to turn yellow. Currently at 5PPM the water is still clear. I hope to double the current PPM by waking hr!!!
UPDATE: It’s 6.30am. I more than doubled my predictions! I’m roughly around 15PPM with a sludge ring around the neck of the jug. Not bad. Last run it was 24hr and only 5PPM and had a yellow hue to the water. The water is still clear on this batch. I believe it’s the 32 volts that speeds up production, the low(er) 1ma current, and air bubbler that’s making this all possible. I’ll test another batch with 42 volts or more next time around!
This is the clearest CS I’ve ever made so far.
Tue 18 Sep 2012
Posted by Diuternity under
Colloidal SilverNo Comments
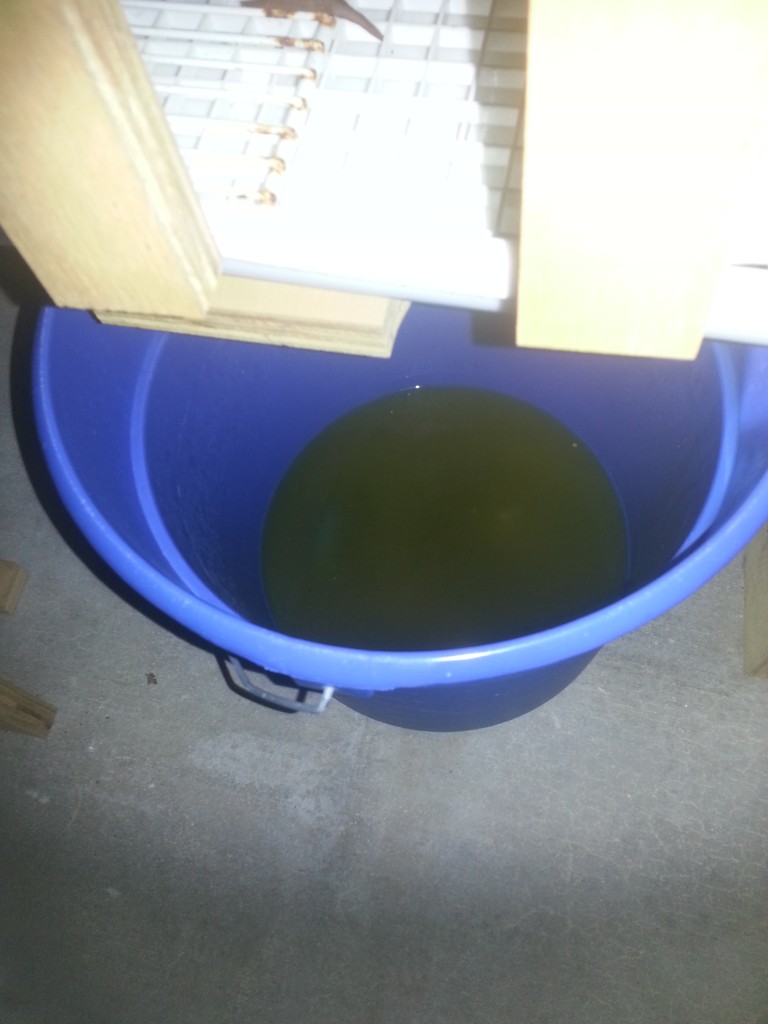
So I have an outside doggie potty that I made for my beagle. She is a pain in my ass but I love her 😉 She pee’s on the potty that then drains down into a bucket I empty every evening. Been saving up her “goods” just so I can test the strength of my CS batch. I poured 16.9fl oz of 4PPM CS solution into the doggy potty to drain down into the bucket of pee solution filled full of God knows what?! Only time will tell if that solution will clear or improve in clarity. I’m sure it won’t turn from green to clear b/c that’s a lot of freak’n piss that’s being diluted by CS!
Fri 14 Sep 2012
Posted by Diuternity under
Colloidal SilverNo Comments
I started out with a gallon of distilled water. This is just a test. I’ll make it’s more presentable and user friendly with the completed product. 12 volts @ 1.8a. I set it for 30 minutes. Lets see with my PPM tester how it comes out!!! Nothing!
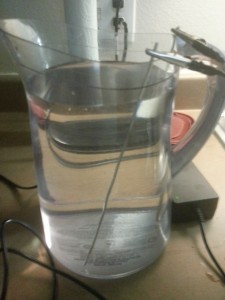
Colloidal silver that is clear or with high PPM is most likely ionic and not TRUE colloidal silver as stated by Silverlungs. These solutions are generally bought from Amazon and the likes. Ionic CS conducts electricity and you don’t want that. True CS are for chloride-rich environments such as our stomach and blood whereas ionic CS isn’t.
EDIT: 09-15-12
My first batch came out yellow. Still good to use internally or externally but I will use it externally exclusively. 5ppm @ 12 volts @ 1.8a. It has a lot of black residue on the silver rods. This came from the high current and the placement of the rods (1.5″ apart from each other). I wont be using this setup anymore.
I have a lot of learning ahead of me. CS generation has many different ways to achieve the same result and it’s quite confusing. Based on my reading, there are dozens of recipes to cook CS. I’m so confused. Isn’t there a scientific procedure backed by multiple studies on the correct and most efficient way to cook CS?
I have come to a conclusion that (by digging very deep) cooking CS requires low current (anything under 500mah). There are CS generators that daisy chain 9volt batteries to end up with 36volts but still having the same 500mah (output of 9volt batteries roughly). Others swear using 9 or 12 volts is adequate (30yrs experience). AtlasNova, from what I deduced, uses high current on their 1 gallon generator (47 volts) yet only uses a fraction of a milliamp current output (500-600 microamps ie 0.5-0.6milliamps). I like these guys because they use low current to make quality CS.
My thoughts? Fudge! Test 2 with 9.22 volts @ 844mah output. I further reduced the output with a 1.5k resistor. So 9.22volts / 1500 ohm = 0.0062 amps ~ 6.2ma. That’s as close to 1 ma I can get so I’m going to use this and test by making a batch to see the results the following night.
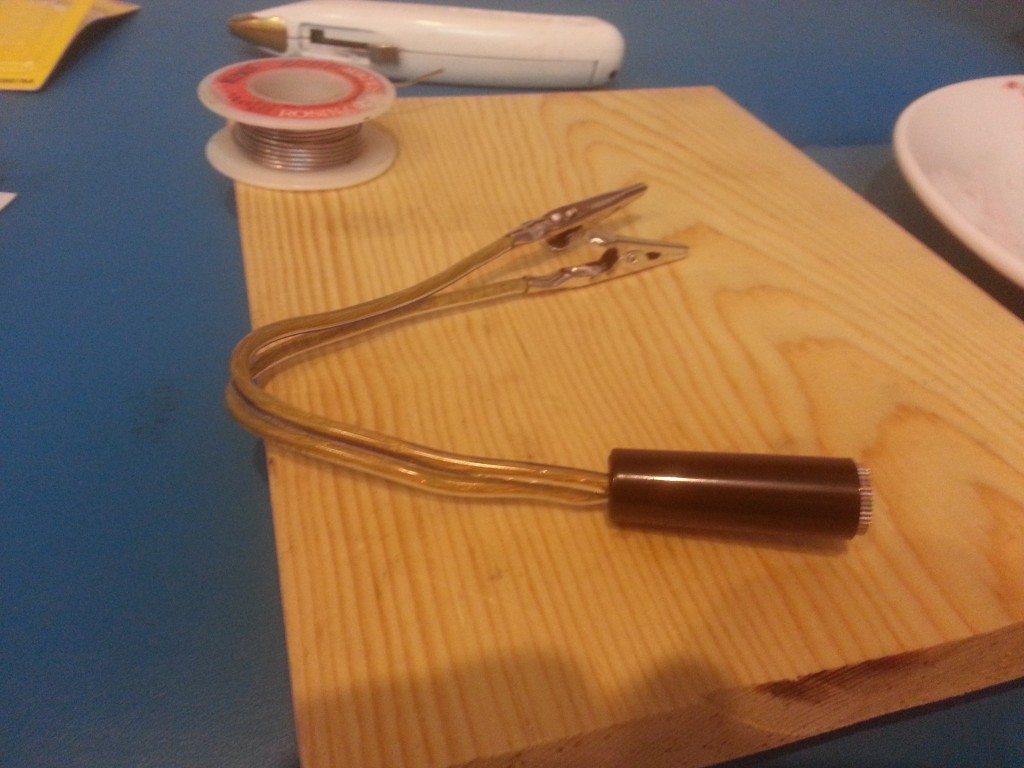
This Image displays the alligator clips I soldered to a female 5.5mm x 2.1mm connector so as to avoid splicing into my power brick. Came out nice and clean. Just the way I like it. I had to go get my tools I let a friend borrow. He lost a few screw heads and two allen wrenches out of a set. I shouldn’t have let him borrow my tools because he is irresponsible.
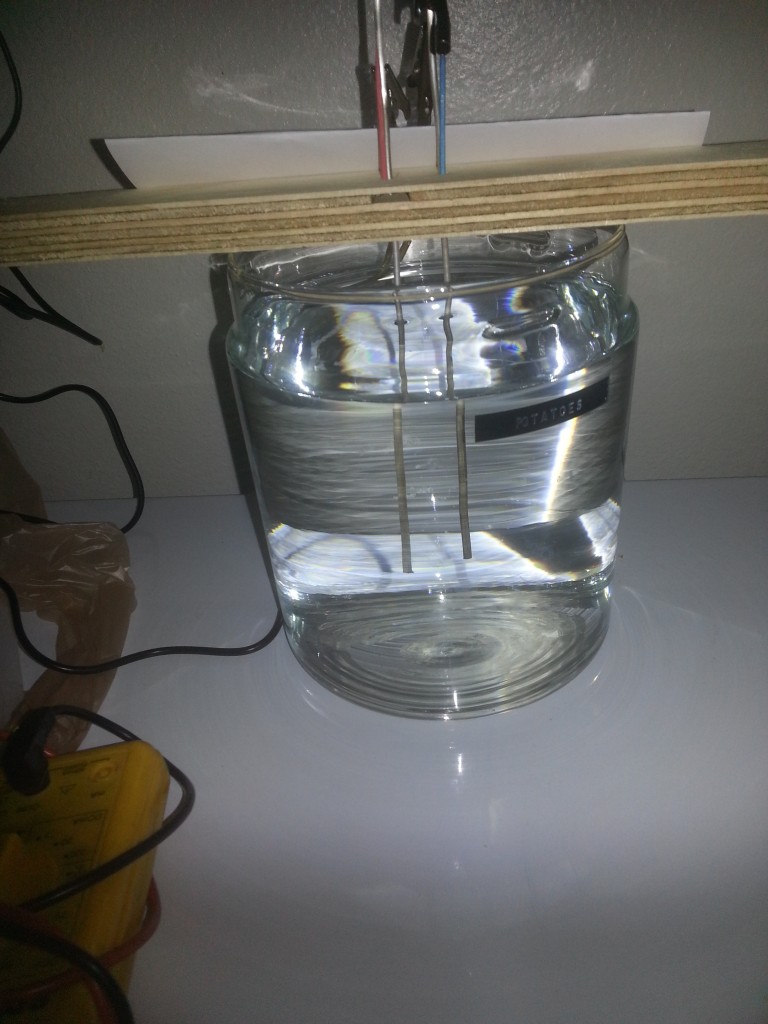
EDIT: 09-16-12
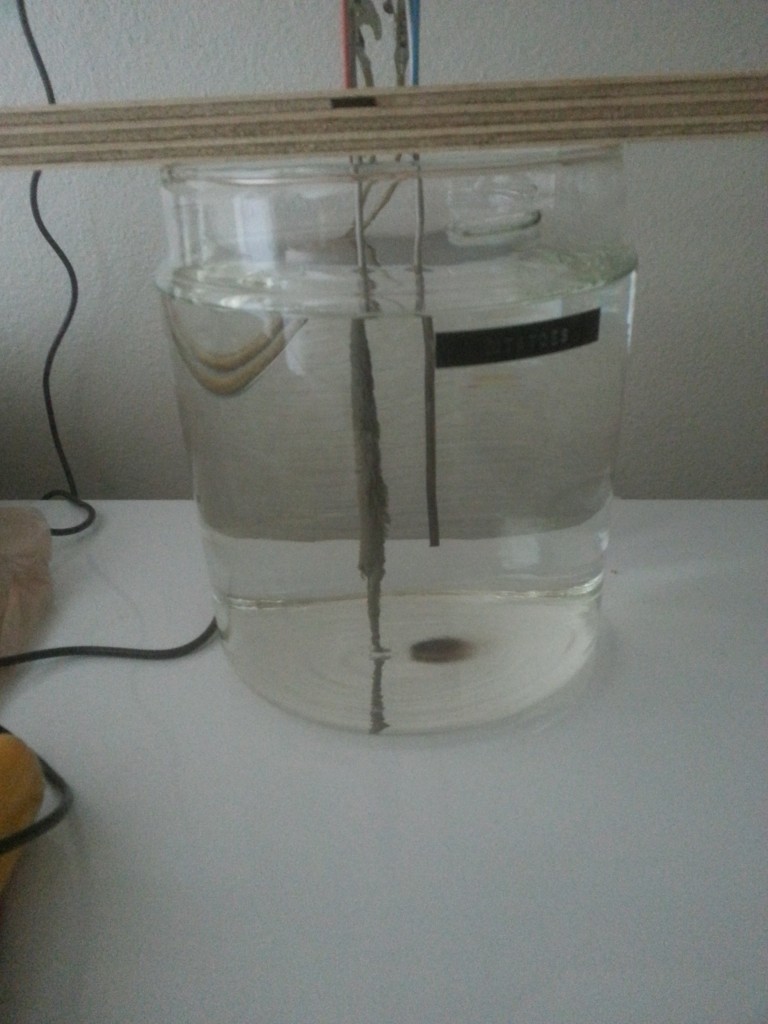
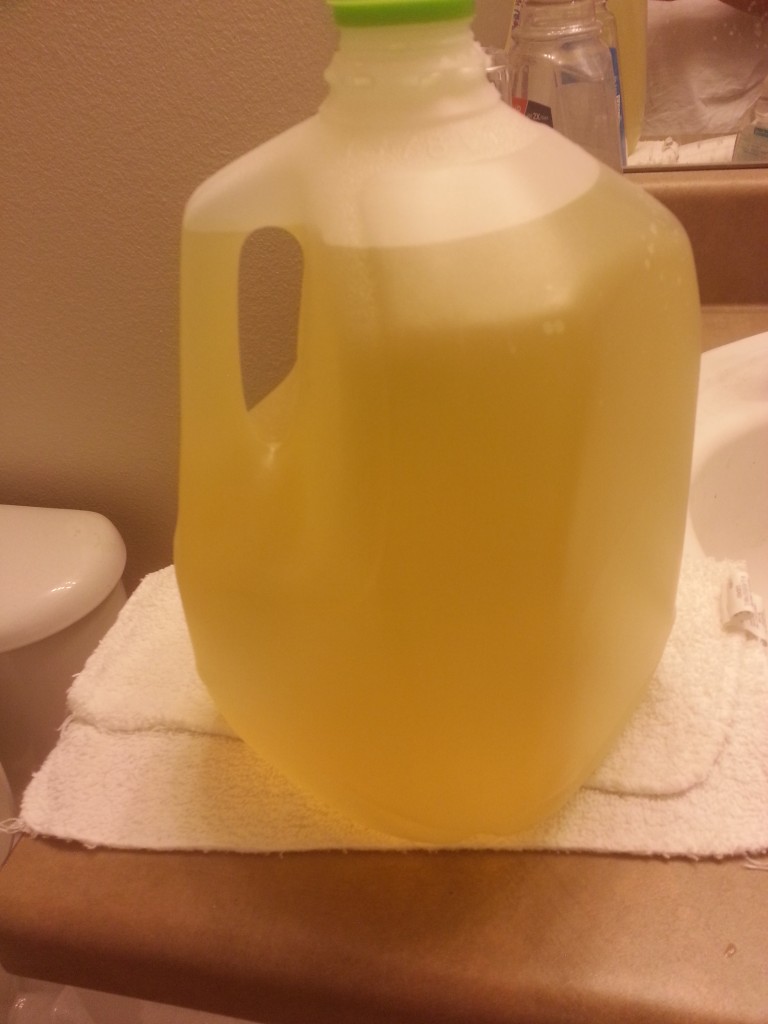
This is after 17 hours. The build up of the sludge is interesting. What’s more interesting is that the water has not turned yellow and I have 4PPM CS. That’s amazing! I’m making quality CS with low current! I’m going to build a magnetic stirring device to circulate the water and hopefully prevent the sludge build up.
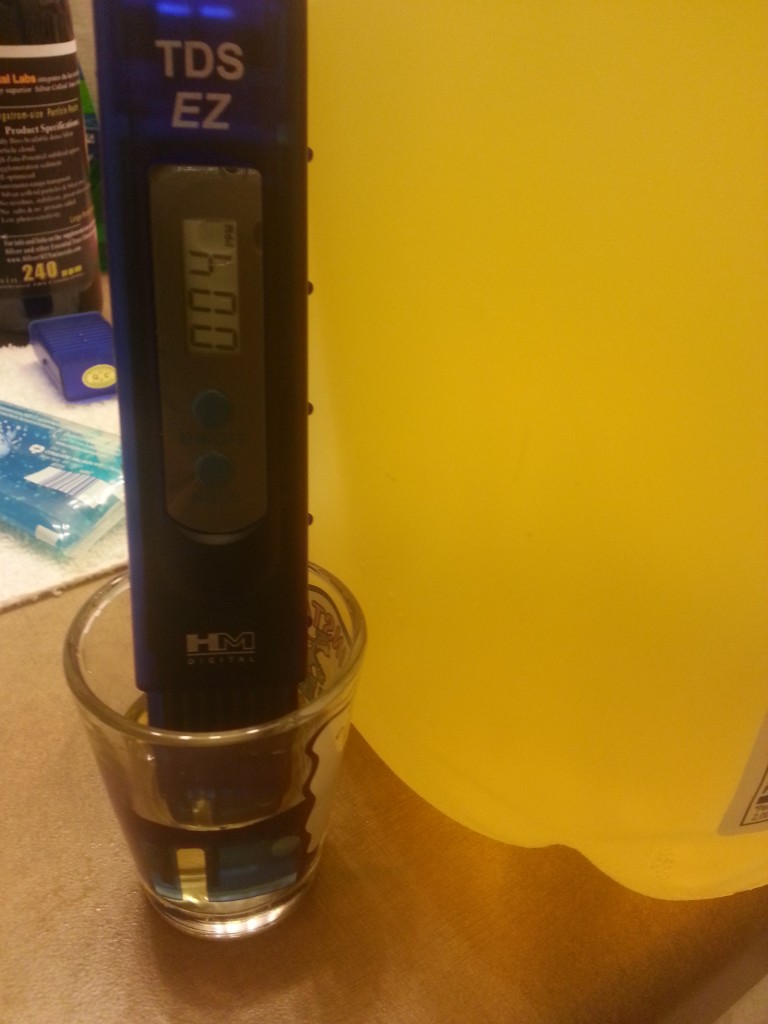
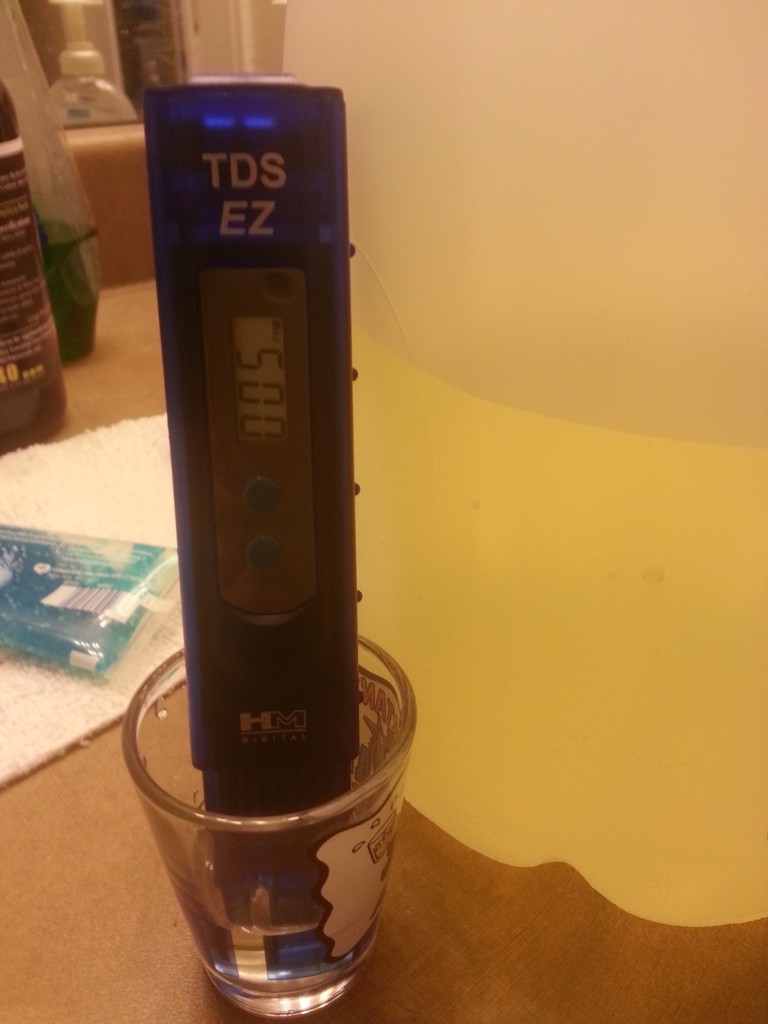
After 24 hr cooking the CS, I have achieved 5PPM. That is roughly 10-12.5PPM because the measuring instrument is calibrated for sodium. There is a difference in color on both batches. The first picture shows the first cook i’v ever made. The second picture shows the second cook. The second cook has higher PPM and is a lot lighter in color. That shows lesser current cooks better quality CS. I’ll cook another later and finish up my contraption.
What’s the difference between LVDC and HVAC Colloidal Silver? (Mountainwellbeing)
LVDC stands for “low voltage direct current” and HVAC stands for “high voltage alternating current.” There are claims that one is better than the other. The truth is they are both good, but the difference is in the polarization. LVDC produced silver particles and ions have a natural (positive and negative) charge just like our bodies, and are absorbed and utilized more effectively than the artificial charge of HVAC produced particles.
Mon 10 Sep 2012
I bought a 16oz bottle of colloidal silver for 30 dollars shipped to my door from Amazon. That’s pricey; extremely pricey!!! Every morning I shower and mist my face with CS to prevent acne (it works wonders for people who already have acne). Acne is caused by clogged pores + bacteria. CS enters your pores and kills/prevents the acne from forming. Works well with white/black heads on your nose; I would squeeze the black heads out then spray CS so it enters the open pockets left by the blackheads and it slowly kills and heals the pore. Sorry I got derailed… Here’s the image from Amazon
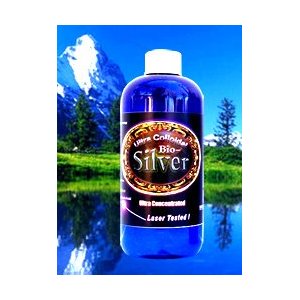
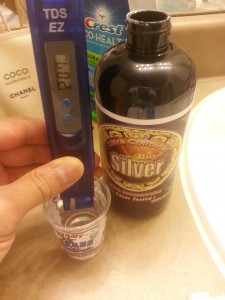
I tested the above CS and ended up with less than what’s advertised. I’m still satisfied none the less. 250ppm is over kill anywho! 5-10ppm of high quality CS is all that I seek!!!
Anyhow, I’ve been reading on how to make CS and based on my understanding:
1) clean distilled water
2) 99.99% silver (don’t purchase the 99.9% b/c it has more impurities such as gold, brass, lead etc)
3) Power (battery or a power brick)
Distilled water has no impurities in them and makes quality CS. Keep in mind that distilled water must be warm. Warm distilled water makes smaller ppm (parts per million) CS. The minimum power requirements is around 30volts DC. I’m using a power brick from a HP 8500 that is rated at 32volts @ 2amps output. I’m using 10gauge silver rods. This is THICK! I can make this by the gallons and the cost is pennies to the dollar!!! I’m reducing the 2 amps down to 0.58ma with a 55k-ohm resistor. Current will not be able to exceed .58ma so the CS being cooked won’t have big particles of silver in the water.
Random notes
1) 10z CS added to 2 gallons of water = disinfected drinkable H20 (thenewsurvivalist)
2) 3oz CS added to 5 gallons of water = disinfected drinkable H20
Tyndall Effect
1) Light Yellow = 1-3ppm
2) Yellow = 4-6ppm
3) Deep Yellow = 7-9ppm
4) Amber = 10-20ppm
Fri 7 Sep 2012
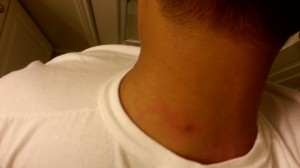
I’ve had this zit on my neck and shoulder for the last three weeks. It hasn’t gone down and I think it’s a cyst. Being so, I started juicing and after 5 days, it completely disappeared!!! I’m saving up to get a professional juicer that will allow me to extract the most juice out of veggies and fruits that I juice daily!!
Recipe:
1/2 cucumber
1/2 Large tomato
1 Red delicious apple
3 carrots (carrots are very important b/c out of many functions, it serves as a good immune booster)
