April 2015
Monthly Archive
Mon 13 Apr 2015
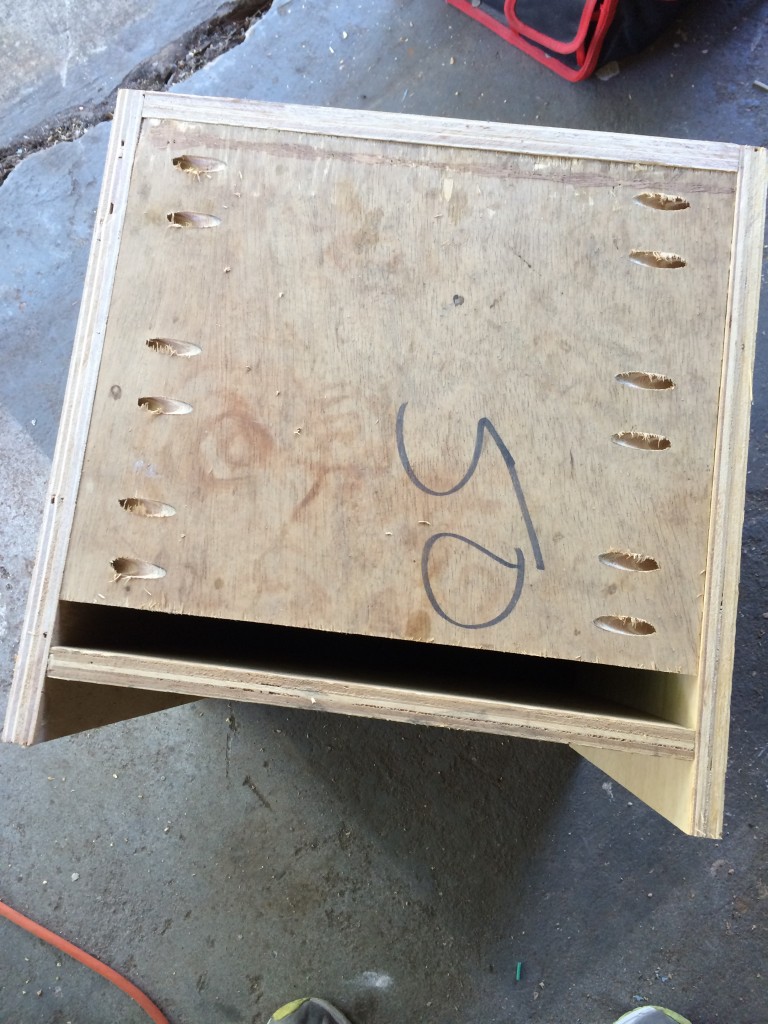
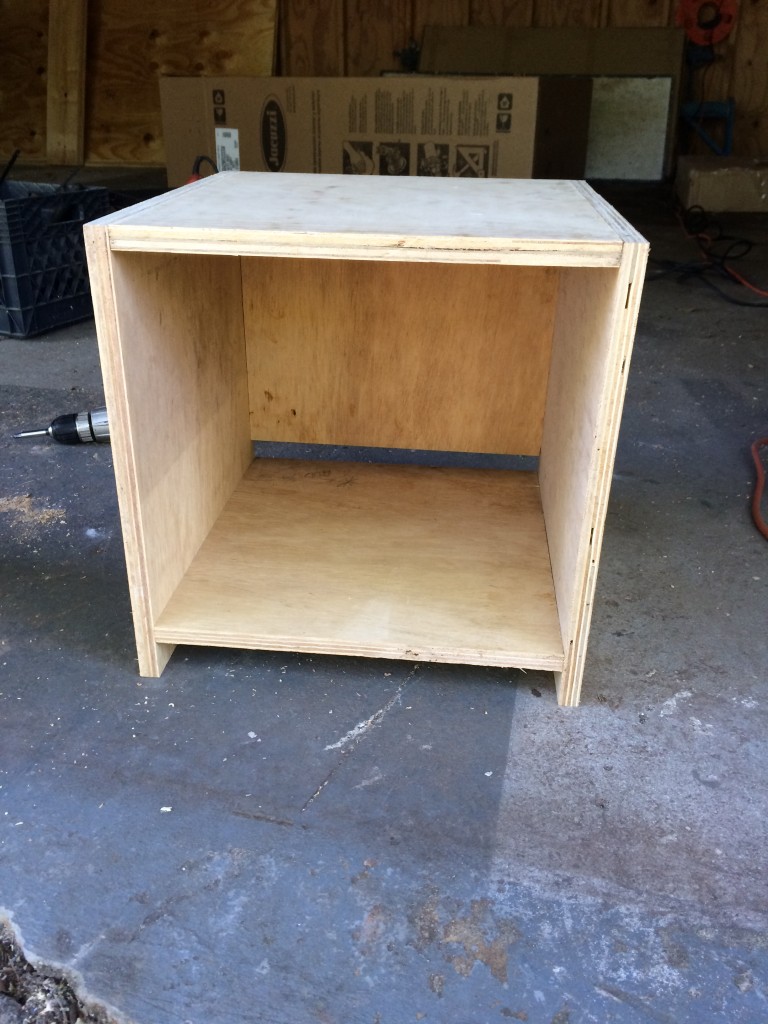
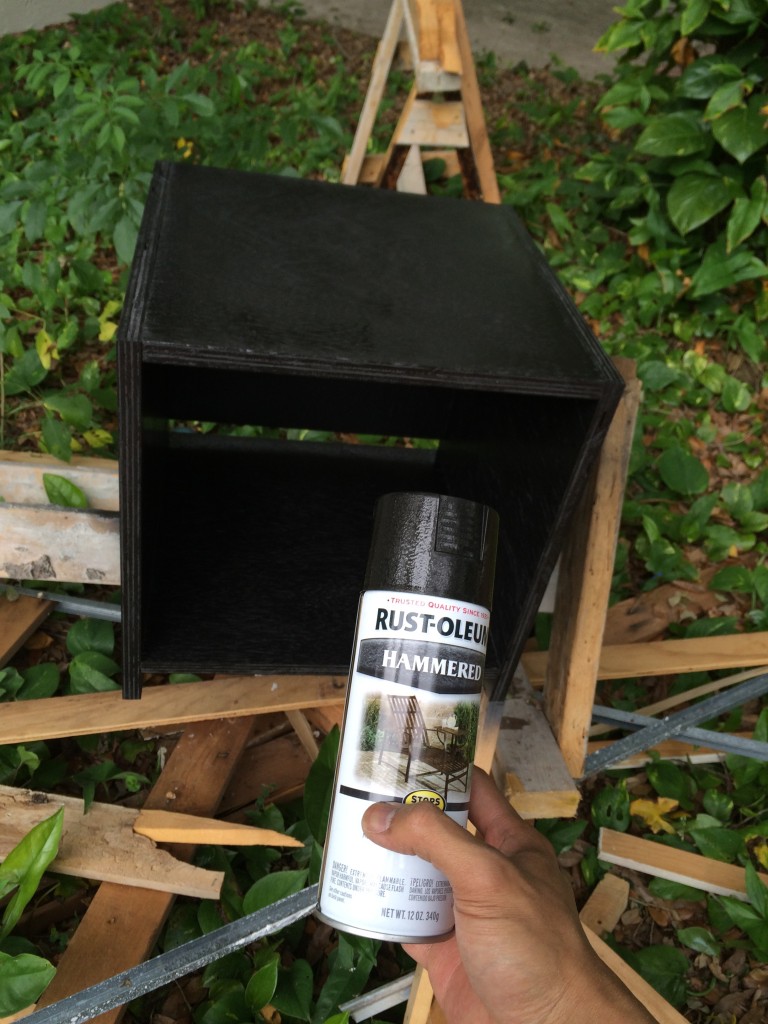
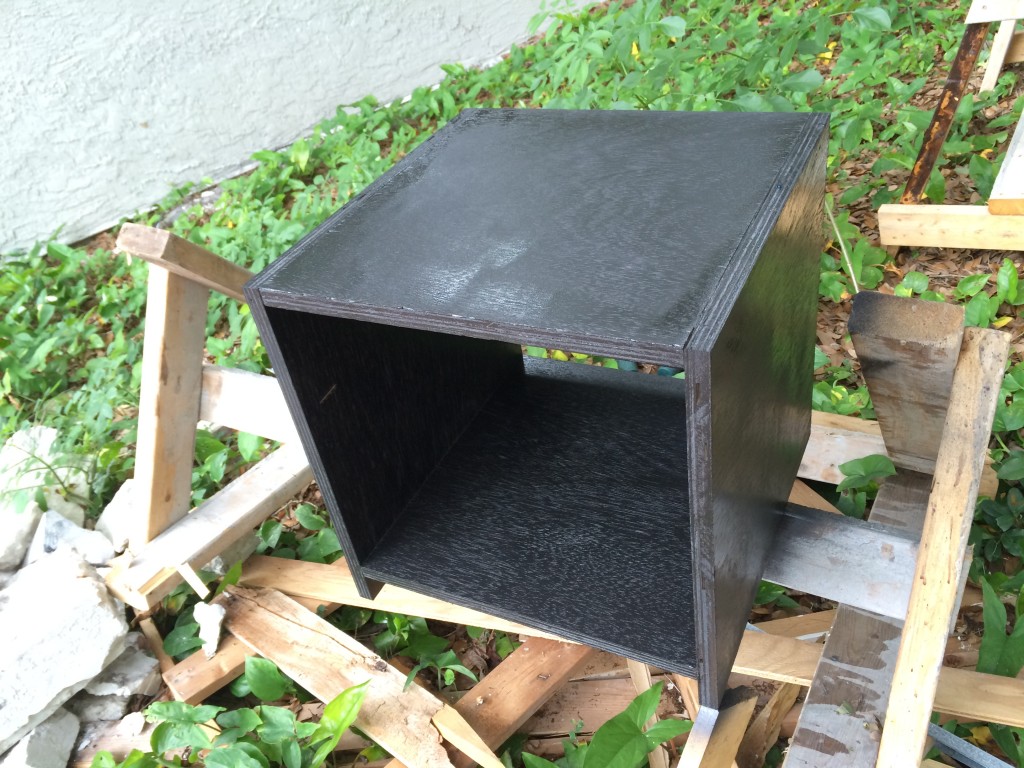
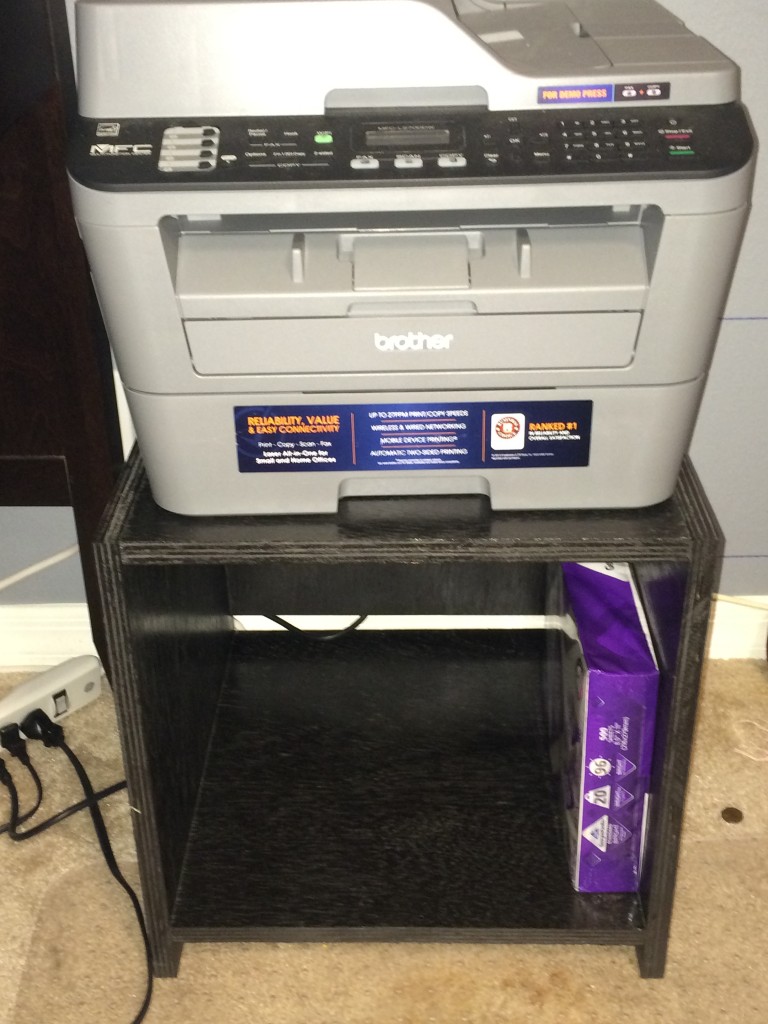
My lovely cousin needed a box to set her new printer on top so that it doesn’t sit on the floor. I had some time and a lot of scraps sitting around – I quickly threw something together – I’m not a carpenter by all means but I made it work! She absolutely loves it so I’m happy 😉
Wed 8 Apr 2015
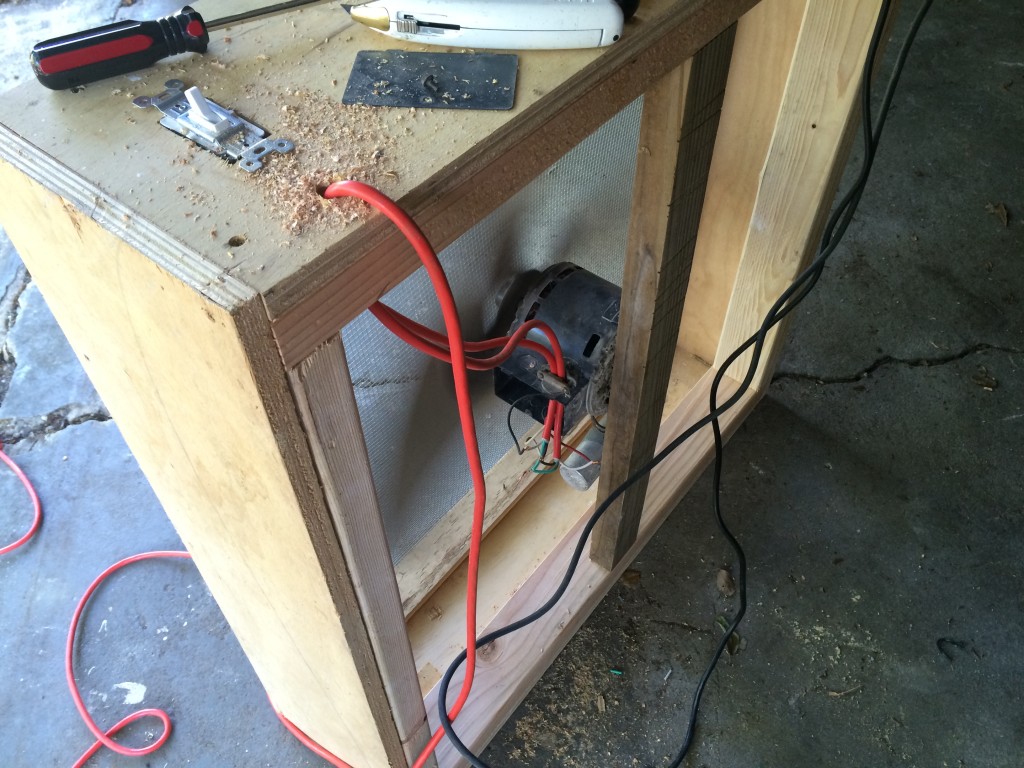
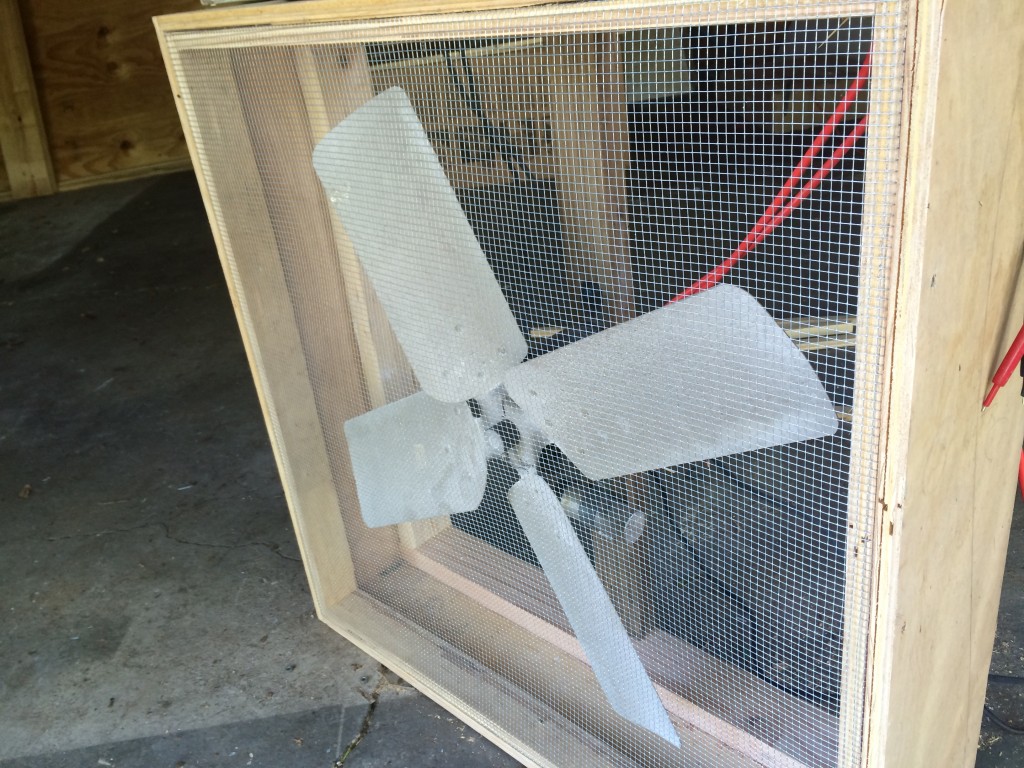
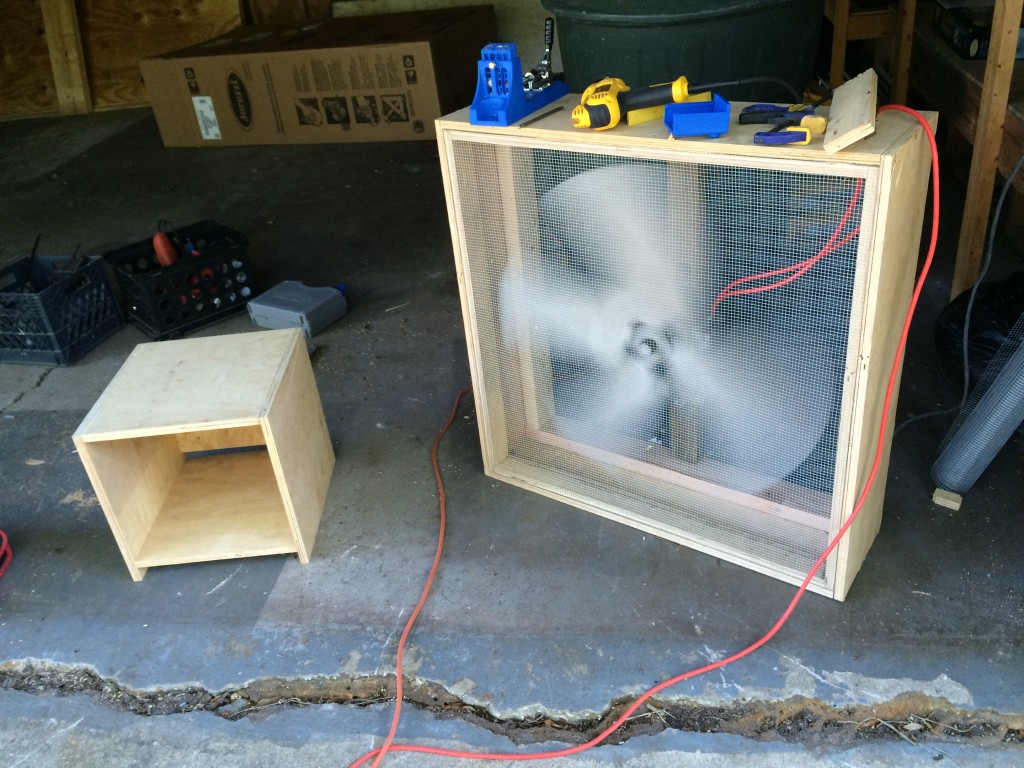
A box fan can be had for around $300 – I can’t justify spending that kind of money on a circulation fan – so I made one from scraps and a circulating fan we found in the attic! This thing pushes some serious CFM!
Just a simple box I threw together along with chicken wire and some electrical work. This cost me roughly $50 to make because I bought the wheel kit and the extension cord.
In this photo, you see the on/off switch? Well a few months later, I added an extra outlet to plug my drill in or my charger etc. It was a convenience factor for when I’m working near the table saw and I need to plug in my jig saw or something..
Sat 4 Apr 2015
I’m helping install an I-Beam that is 30ft in length. No one has ever installed one before and so I naturally took the job onto myself and installed it alone. The beam roughly weights 2000lbs. It wasn’t hard to install – the only time consuming part of the ordeal is and was in the PREP work.
I had to make support pillars that would hold the beam to be winched up slowly – 2ft at a time. Here are some photos of my weekend 😉
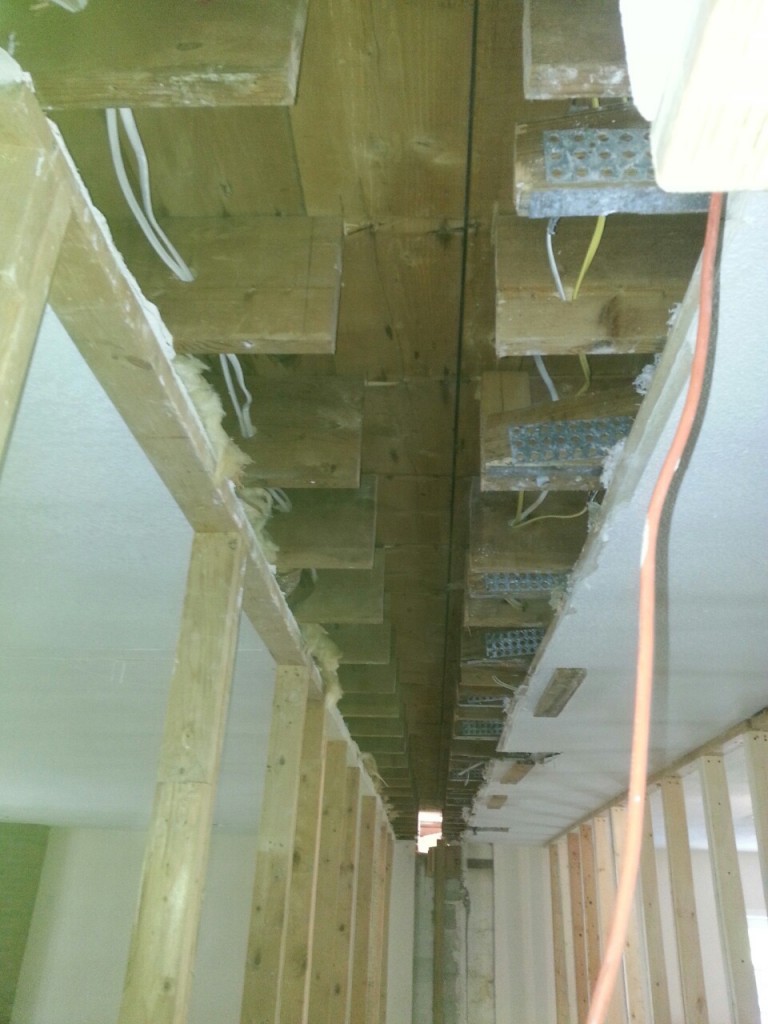
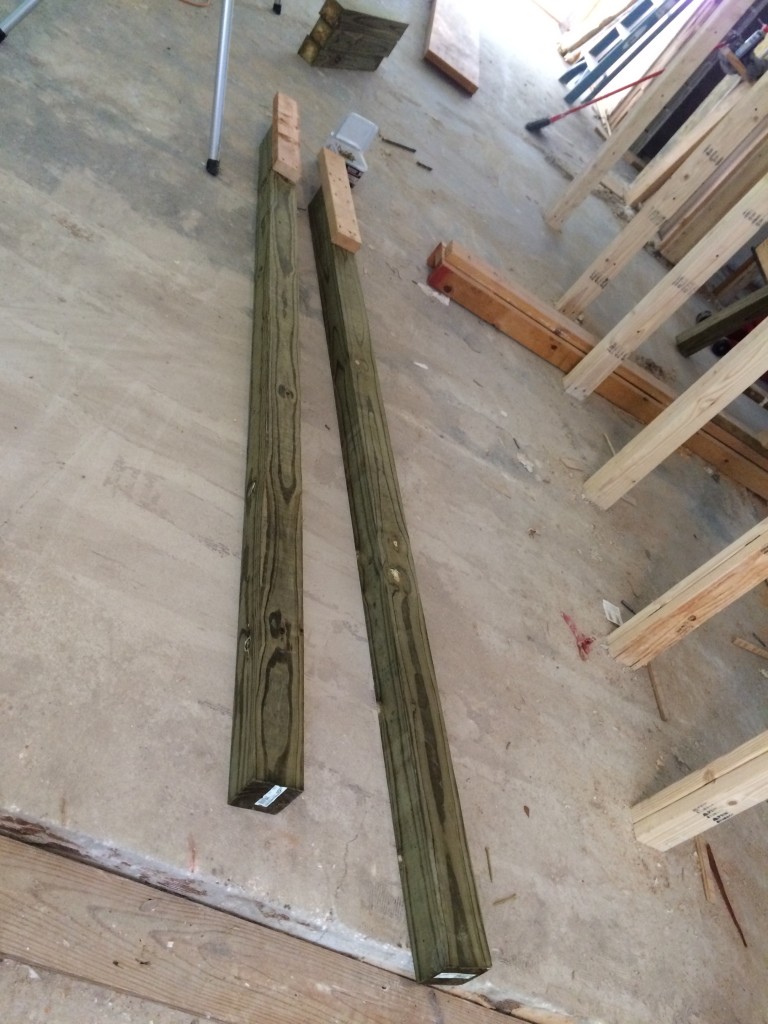
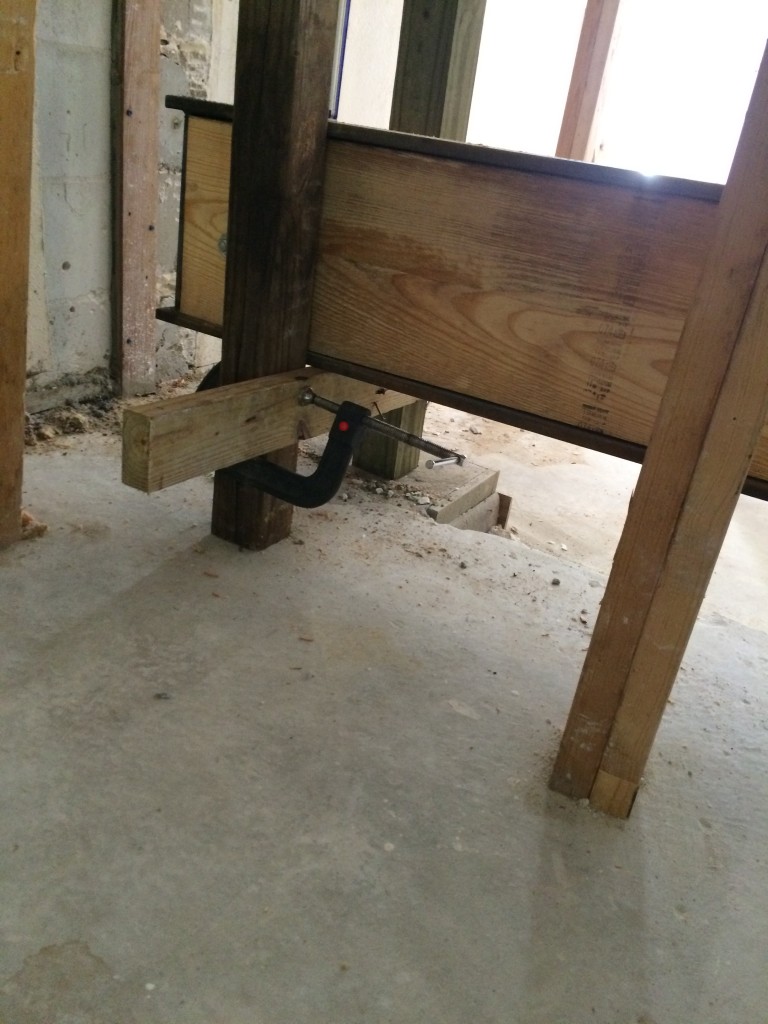
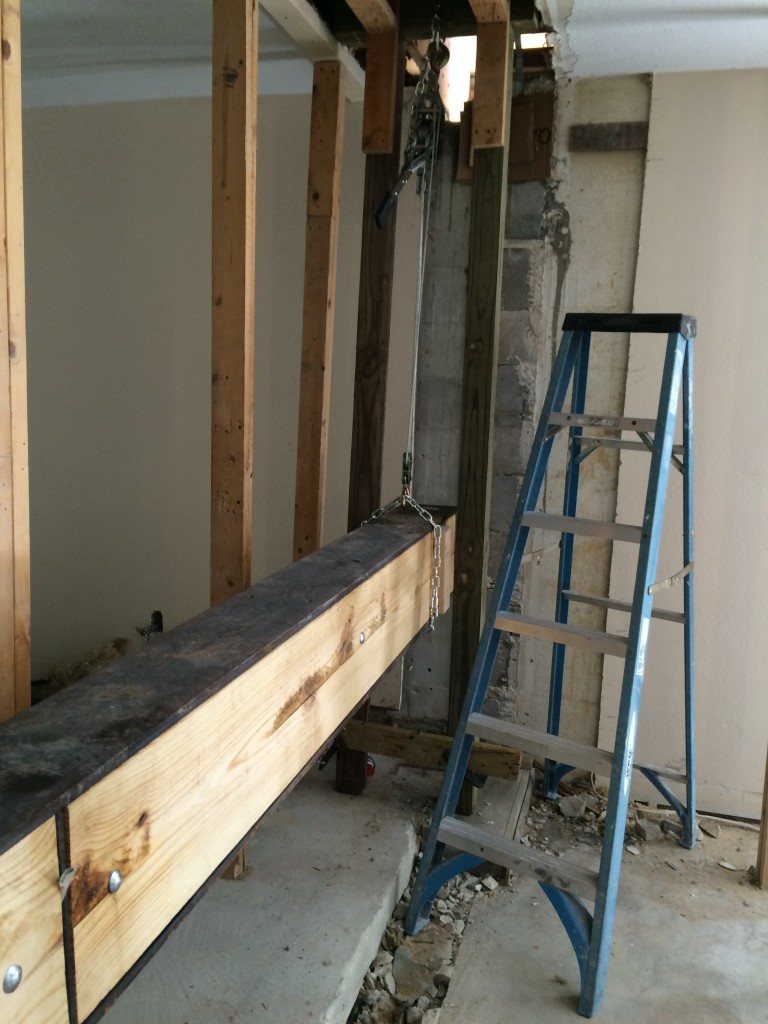
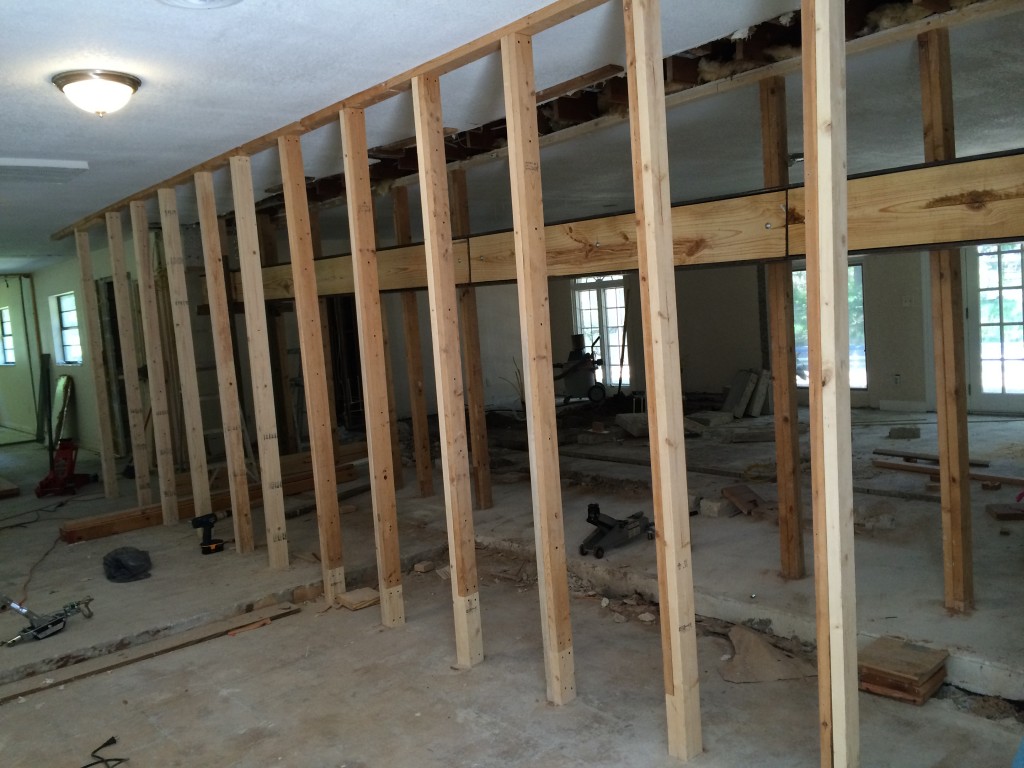
It’s up and sitting on two 6×6 pressure treated beams. It was fun! The house looks incredibly more spacious after the beam was installed!
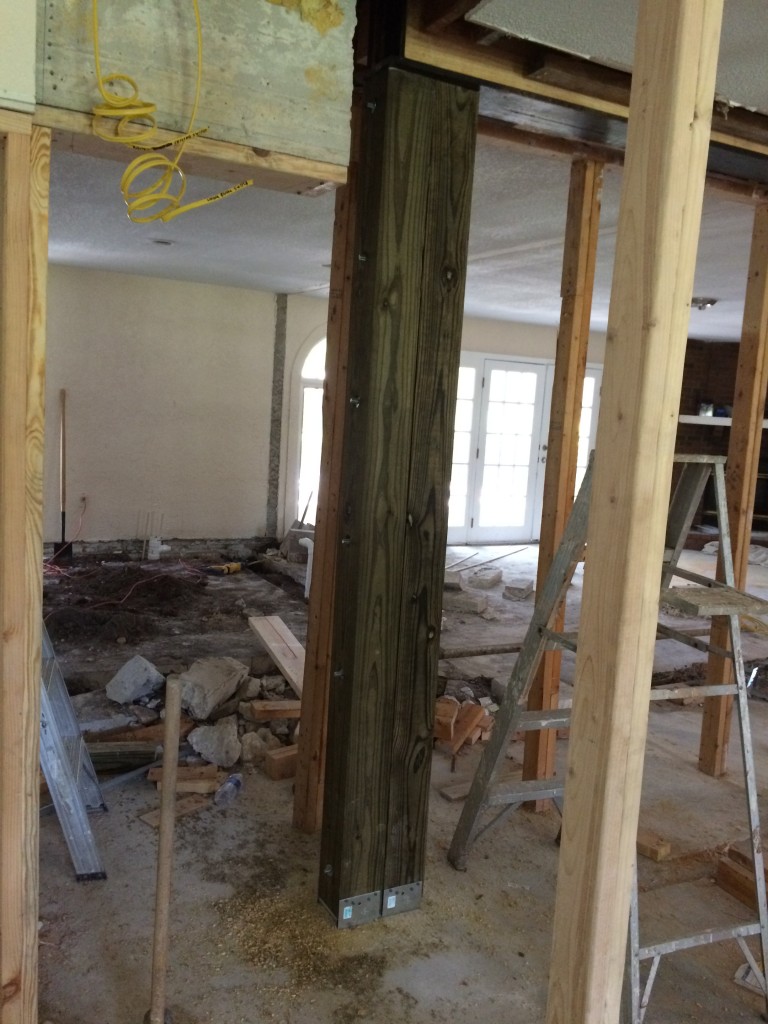
Pulling the beam through and setting it on the wall was also tricky but with a winch, you can move mountains!
