July 2007
Monthly Archive
Tue 31 Jul 2007
I picked one up today used for a good price. Same price for the upgrade. I’m sure I’ll upgrade this compressor to a higher CFM rated pump soon. It’s a 60 gallon Campbell Hausfeld with a 5hp motor on there. It’s good for one person but you know me, I want more! I’ll order the pump with 18 CFM output rating soon! I’ll sell the original pump + my old compressor to compensate for the loss/gain. I still need to fix my small compressor that I tote around. It’s an oiled 1.5 gallon compressor.
My new compressor is so quiet compared to the oilless compressor I currently have. Plus it falls 30 gallons short of the new one I just purchased. I’ll take a photo once the rain cools a wee bit.
Here are the photos:
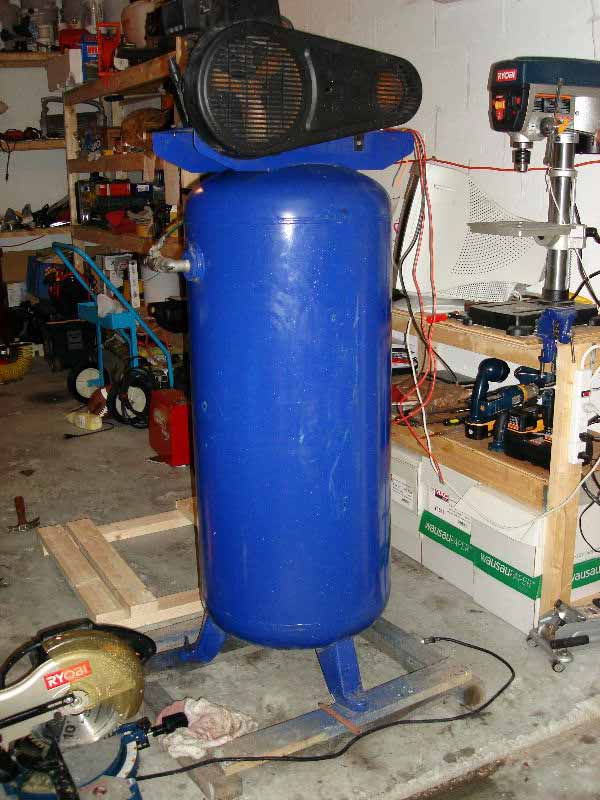
This is my new tank. It’s so too blue? Notice the crate it sits on? The crate is so nasty and broken down I “had” to build a new one– erg with wheels on it so I can roll it around in my tiny workshop.
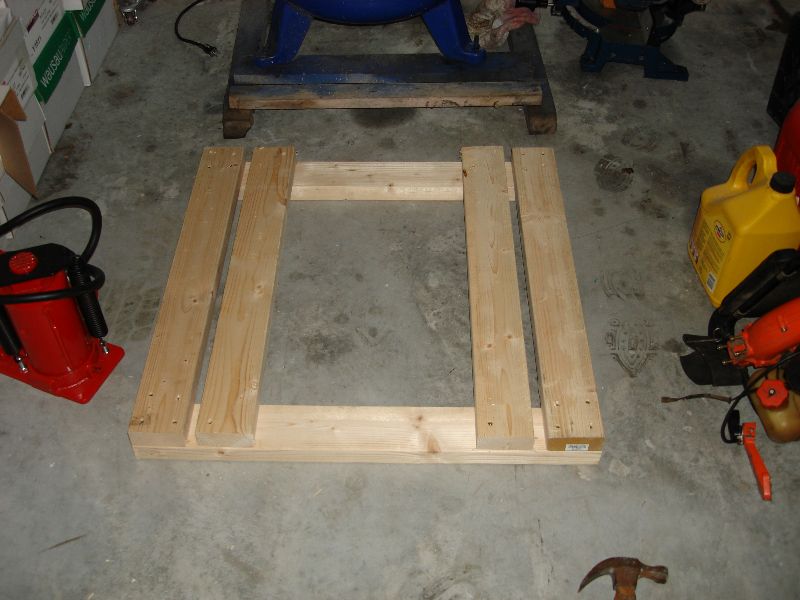
This is the new platform it sits on. I kicked myself because I had wood lying around and didn’t take notice of them. Cut two good 2×4 stock because of it. Notice the casters I’m installing. They are softer rubber wheels than the black rubber ones. The harder plastic ones just seem to slide across the floor. These casters grip the floor that they rest on better.
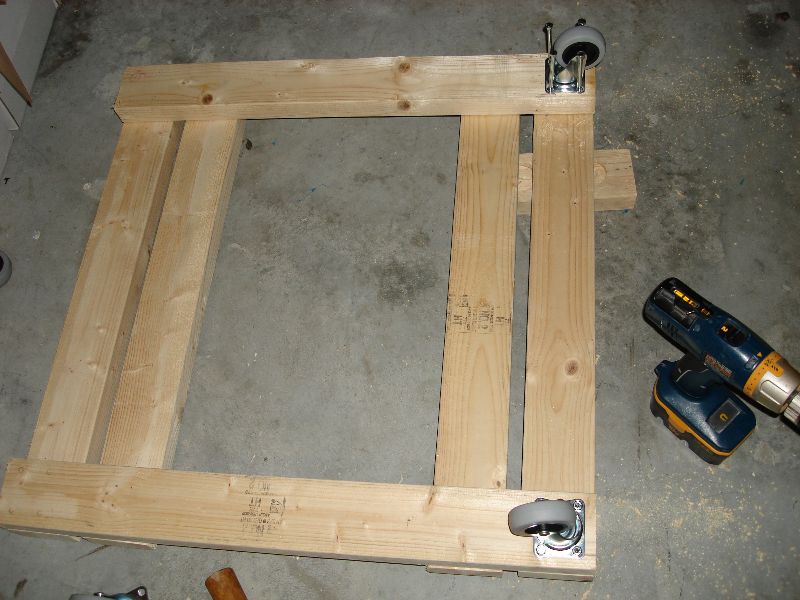
This is the finished platform the compressor will rest on. It was a bitch getting it on by myself. I had to tilt one leg on and used it as a rotating axis to get the other two on. I used the same three nut-n-bolt to secure it down to boot!
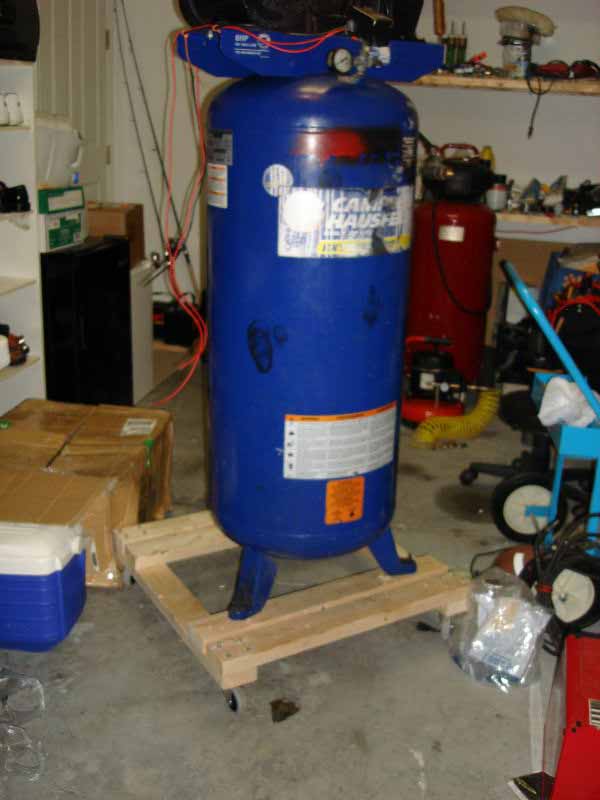
Campbell Hausfeld Model: VT619503AJ 60 GALLON 5HP 240V 1PH
Sat 21 Jul 2007
I purchased a fish tank at PetSmart today and I can’t wait to install it. Due to space constraints, I settled with a 55 gallon tank vs. the 75 gallon tank that I had in mind. The 55 gallon is just as long length wise but only 4″ to 5″ shorter in width. I was contemplating on whether I should get the 77gallon but can’t afford much needed space to satisfy the tank and give me walk way.
I’m so glad I got this tank because now, I can put all my fishes in one tank. I don’t know how many of my other fishes my Oscars swallowed whole but I’m sure the numbers are staggering and the piggy bank is sure enough, emptying with fast pace. I would like to see more room for my Oscars to swim in and hopefully fill up the new tank with more live plants. I want a jungle under the water!
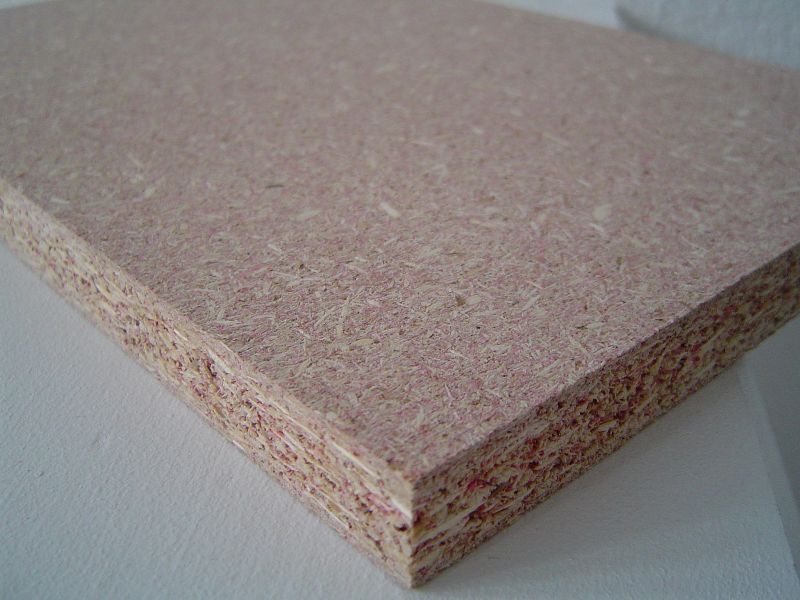
As of late, I just got back from my brother’s shop. He and I measured up and made great progress on the newly to-be tank stand. I wanted to go the quick and easy way but he sat me down and gave me a lick’n. So now, we are doing it his way eerrg, PROFESSIONALS! Mine would have been tacky and “useful” but he said: “I don’t build SHIT” so heheh, he’s making it all pretty for me with swinging doors and the likes etcetera etcetera. Funny how a stand would cost me 150USD and the one I’m building in materials alone, cost me 200USD minus labor. The only real difference is that the ones store-bought, is inferior because they are made of particle board:
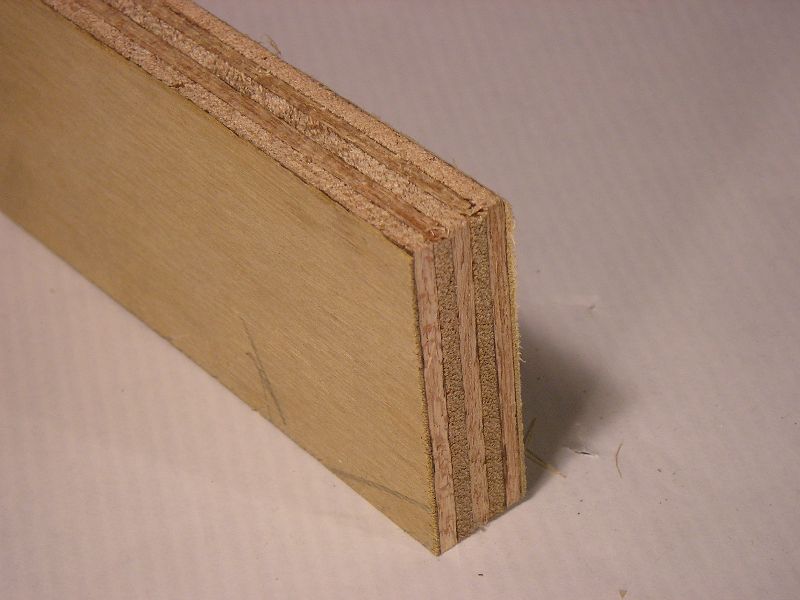
While mine is made of industrial plywood. Notice this plywood is made in Canada (I believe so) because the ones made in China is trash. I wouldn’t touch Chinese ply with a 20ft pole. I’ve seen the quality at Lowes before and I’ve seen them at my brother’s shop. He only uses them for kick stands. Not to mention how China can’t count. You order 12.7mm ply and they give you 11mm ply. Their thickness isn’t standardized for reasons I don’t understand. When I say China, I’m not referring to the whole Country; just the ones producing shit and exporting them. There are good companies that comply with US specifications and those company names are kept with utmost secrecy.
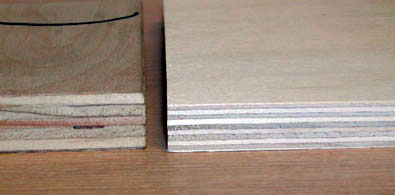
Here is a comparison: Canada/China Birch Ply respectively. As you can see, the China Birch uses more layers than Canada’s Birch. It’s not uniform and has voids and flaws in them. I cut a piece the other day and the China Birch shredded in two. Pieces being built today ends up warping the next. I’ve seen, I’ve made fun of it, I don’t like it.
I remember when my buddy purchased his 70 gallon tank, he had purchased the stand + tank from PetSmart as a matter of fact and let me tell you something; it wasn’t very sturdy so he had to reinforce it with 2×4 studs which beats the purpose of buying one pre-made. Not too many people have access to a carpenter or his tools=) I’m one of the fortunate ones!
All I really wanted was a strong box to support my tank (500+ lbs once filled with water, fish, rocks, etcetera…) and room to put my fish flakes and chemicals. O well, he knows best- it’s not like I do carpentry work for a living (lol). I think I’ll finish tomorrow. All the pieces are cut out, sanded, sprayed with the shiny stuff and left to dry. I got to come by tomorrow and sand + stray the shiny stuff on it again.
Anyhow, this kind of illustrates the many steps we took to finish my tank stand. The chocolate guy you see in the photo is my dearest friend Ike. He is the funniest black fellow you’ll ever meet. Drinks a lot, talks a lot of shit and tells wild stories to keep us company. The girl you see in there is my brother, Young. My buddy Jimbob said that his girlfriend holds onto his pony tail when they do the nasty=)
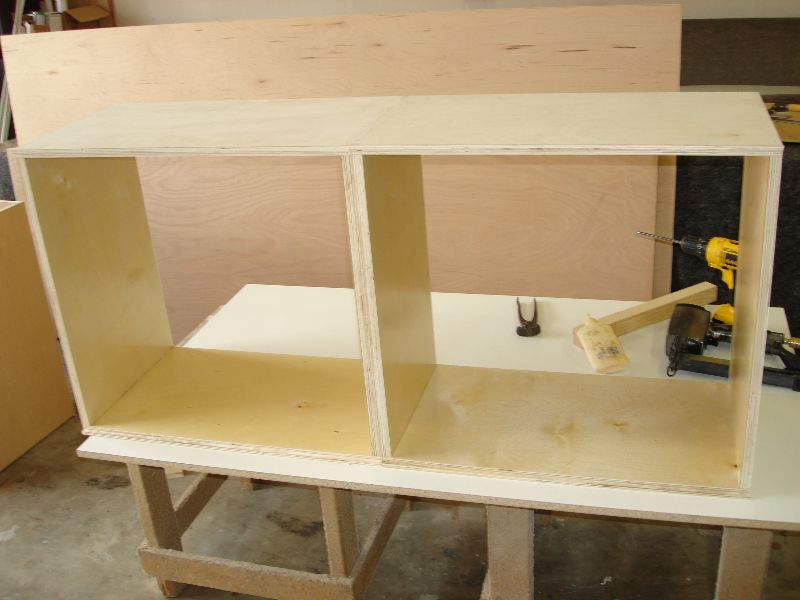
The saw you see shall be mine within the weeks. My brother is getting a new one and he promised to give me this old one. Free is for me! The stand measures 48.78″X15.75″X26″ and my tanks is roughly 48″X14.75″X12″. All pieces were cut to correct desired dimensions, then glued and stapled together accordingly.
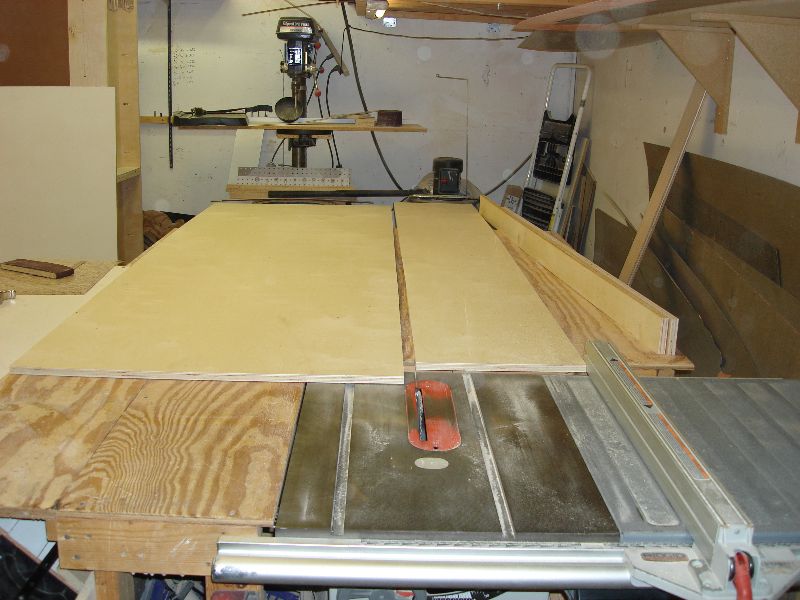
This is a jig we had setup to align the many pieces before we could glue and staple them together. Pretty simple yet very affective. Tried aligning those pieces by hand, gluing them, and stapling them at the same time!
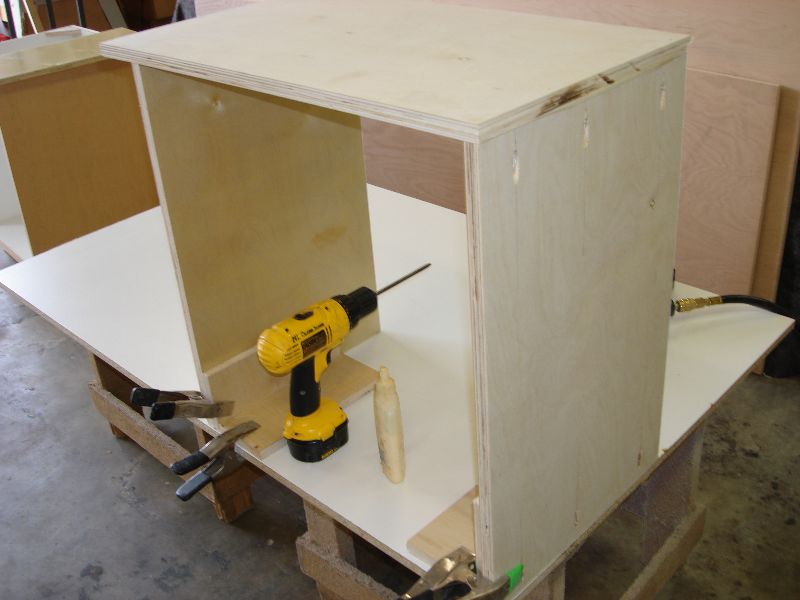
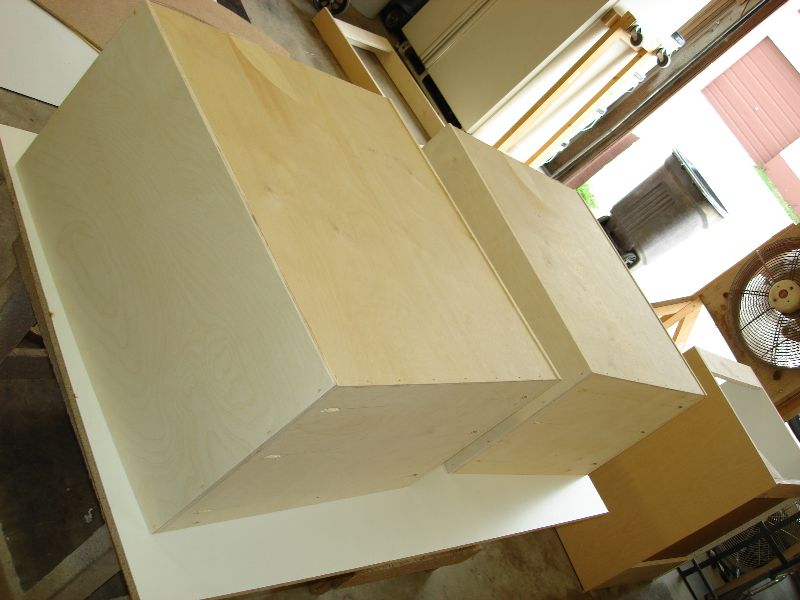
The next two photos you’ll see the boxes assembled and both will be glued together to be able to support the tank.
Ike and I. Thumbs up for an awesome job!
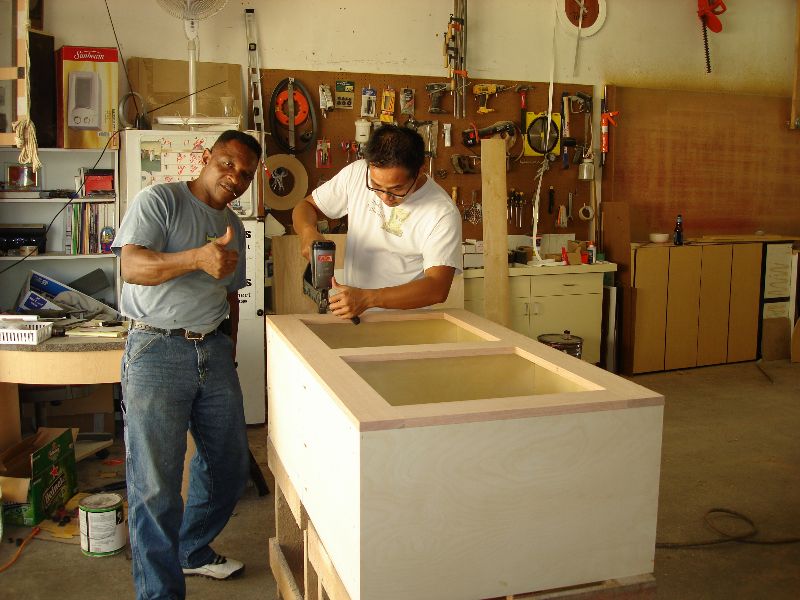
Sanding was a pain in the but! Very dirty job. Thank god we had gigantic fans blowing them out of my face!
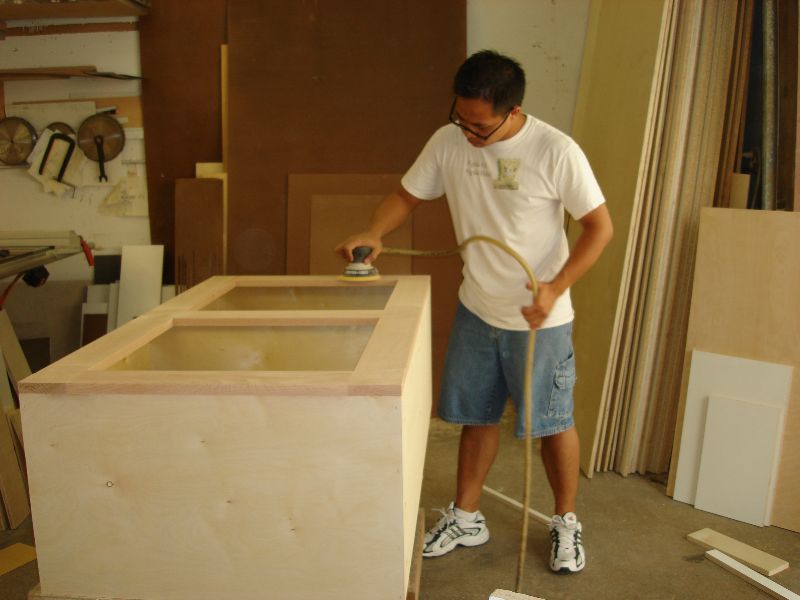
The finished product after sanding. You can’t see the staple holes anymore because they were all filled by wood putty!
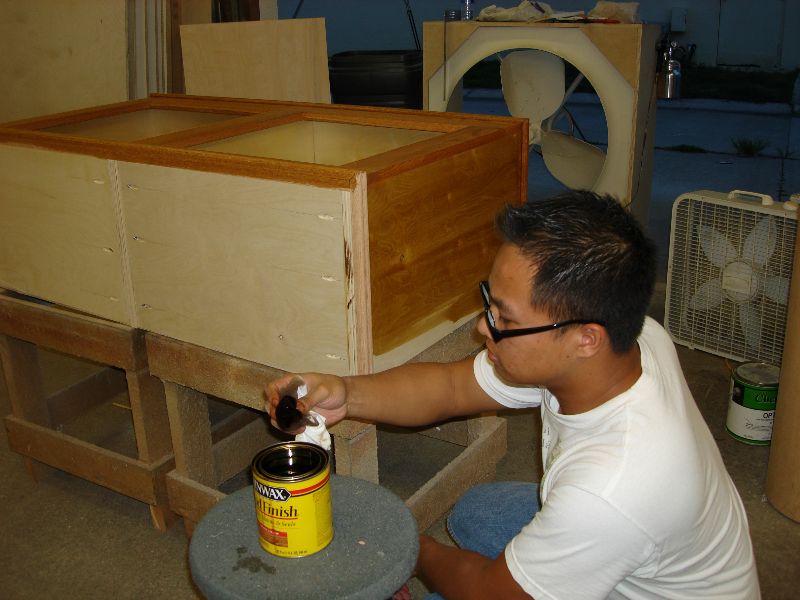
Now I’m staining the wood. Looks great! I’ll have to get the name of the stain so just in case in the near future I need it.
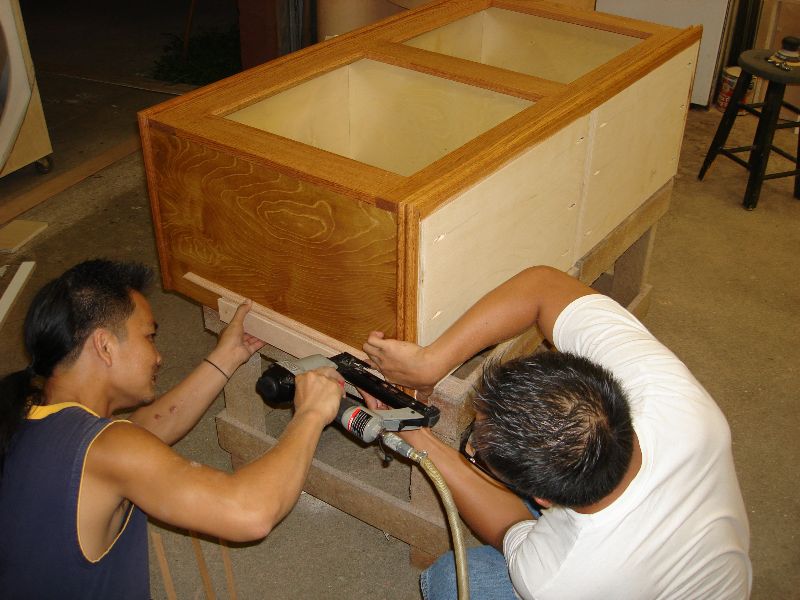
Young and I putting on frames on both ends for decor. Makes the stand look even more attractive. Gives it some defining lines!
I’m done with the staining. What do you think? Looks good?
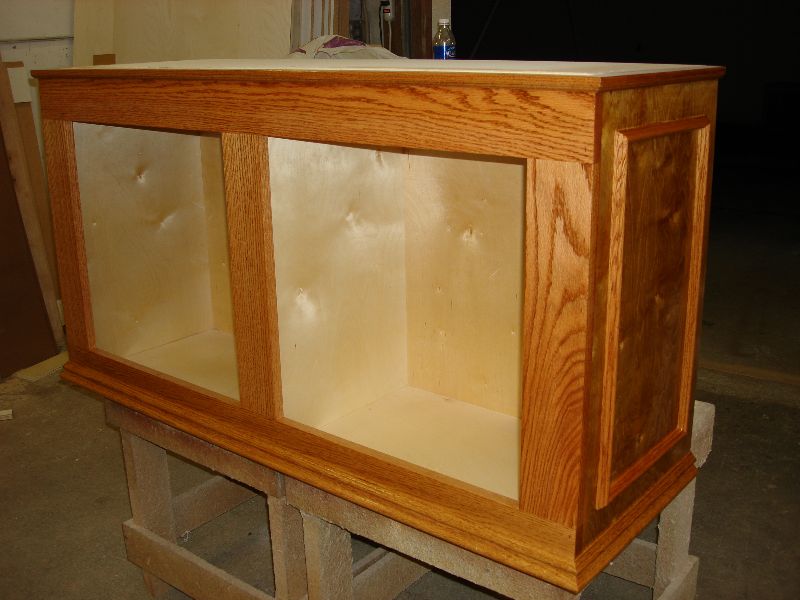
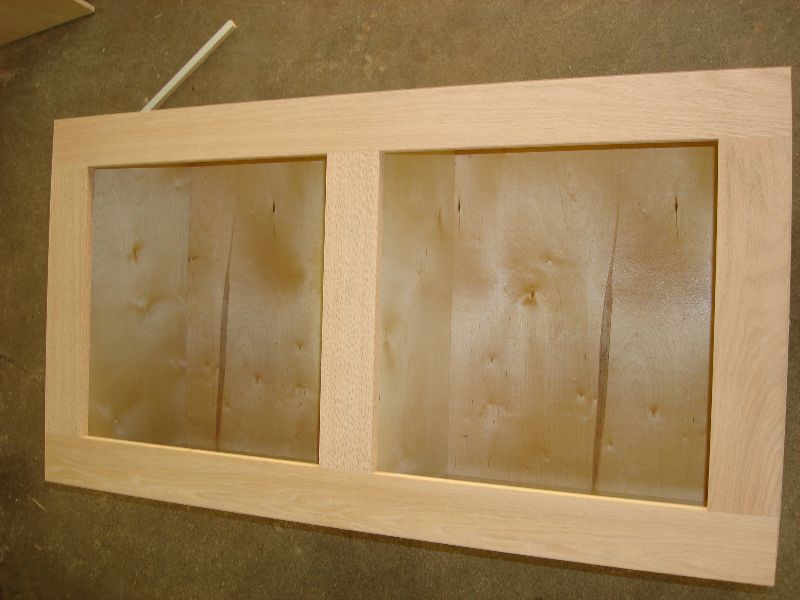
Tomorrow I’m going to put on the doors. I don’t think I’ll add shelves though. No need!
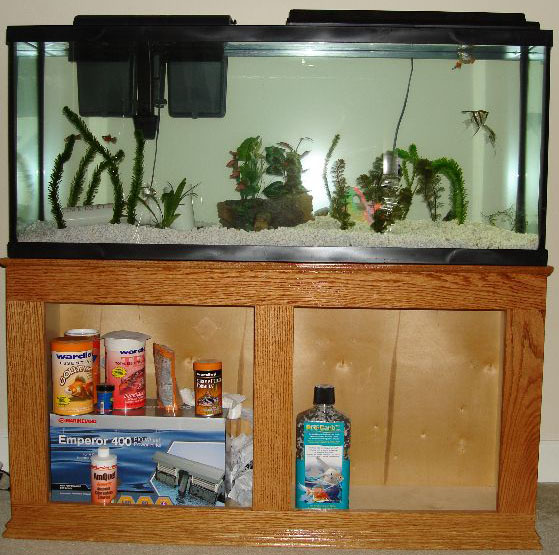
Still NO doors yet! I’ll add them in later- not very important at this vary moment.
Building Fist tank Stand : Tank Stand
Sun 15 Jul 2007
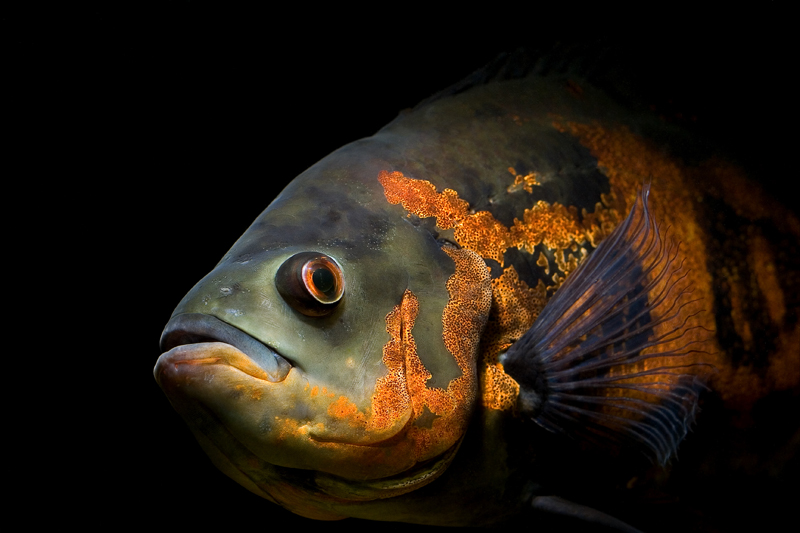
I purchased three of them the other day. Cost me 50USD! Darn’it that’s a tank of gas for crying out loud! I need a larger tank now! I’m looking at maybe a 200gallon or so but I wouldn’t know where to put it because I don’t have a lot of room for anything these days! All rooms are filled which leaves the garage but I don’t want it in the garage- can’t enjoy it much if I have it in there.
Anywho, these oscars are so picky eaters! The upkeep for these darn fishes are another story. I enjoy them though. They are intelligent fishes because they greet me when I open the door which makes for an awesome entry! Going to train them to eat out of my hands. Yippie!
Sat 14 Jul 2007
Download link
If you have any questions or concerns, please post them here. This is a higher quality version of the video I have. Works great; blade is extremely SHARP!
Turns 8.5×11 stock into 12 individual cards in no time!
Fri 13 Jul 2007
I had a dream last night. Maybe it was from eating too much candy or the plenty brain freezes from slurpees but the dream is of my late uncle, Bruce Butler. I guess it was a sign of some sort but in this dream, him and I were bank robbers and we were trying to get a way from the cops.
We were so Hollywood. We were dressed for the part, wearing cool disguises; savvy we weren’t. We got caught while walking to our car from a fast food chain. All I remember is, “Hey that’s the guy, lets get him”. So we were both booked. I gave him a high five when we were caught saying “Damn, that was pretty damn close”. I guess in a sense, showing my intentions of a person that survives and never gives up in the face of contradiction.
It was funny; I never saw him again throughout the dream. It made me tired. I think he came to me as a sign saying I better [get] and not give up. I got to get somewhere in life and not give up. It was a revelation for me. A sign from the other world. Contacting me, reaching out for me, touching me. My uncle was looking out for me from out of his grave.
Sun 8 Jul 2007
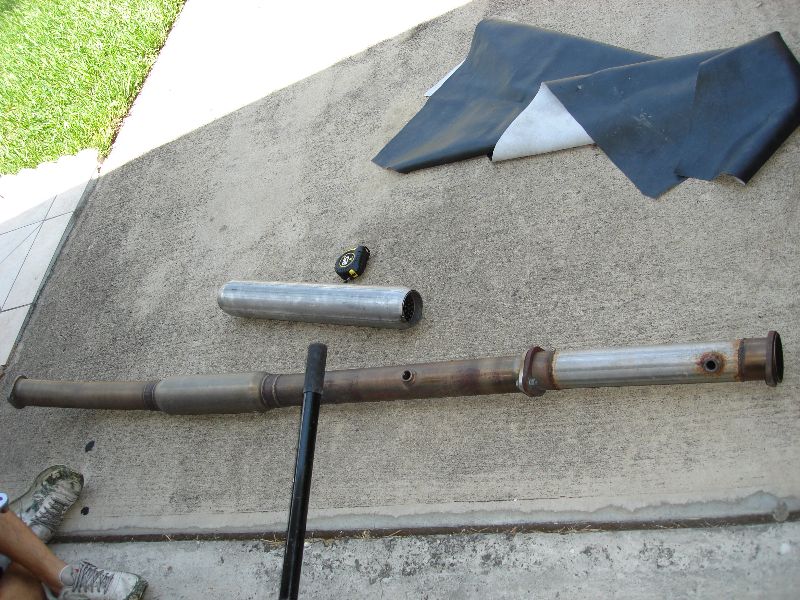
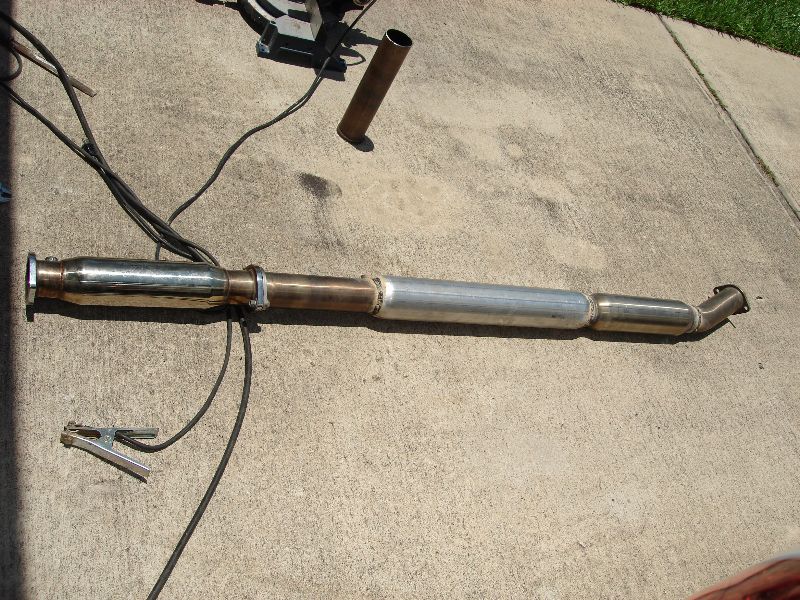
My buddy wanted to make his exhaust sound a little quieter so we hacked his exhaust up to pieces. This exhaust is off of his 2003 Mitsubishi Evo Lancer. I did all the welding of course. Sucks having to transport my welder and tools from one city to another. That’s what buddies are for right?
A shot underneath his car when taking off the old exhaust.
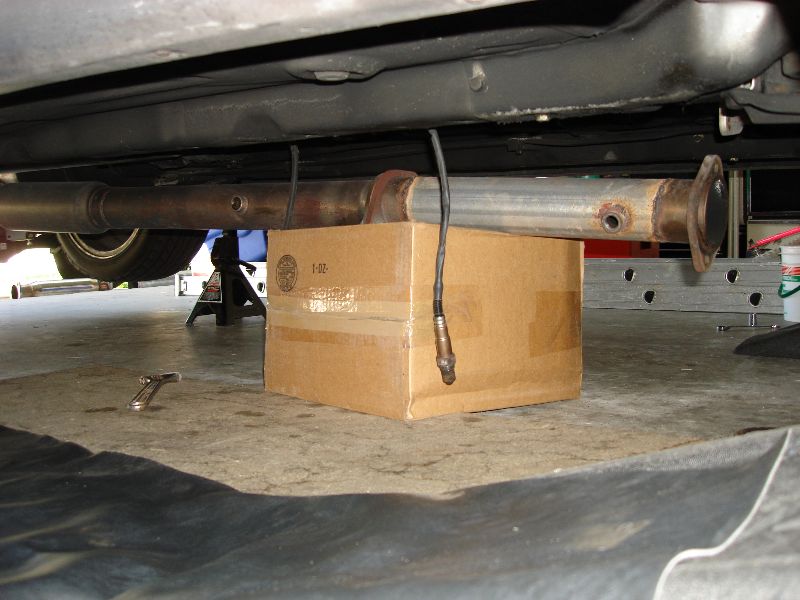
Here is an original section of his exhaust:
Here is the complete piece welded together. As You can see, I welded on an extra resonator and also moved his original resonator farther down to accommodate the extra resonator. It was fun! Had a blast and wasted my three hours for food=)
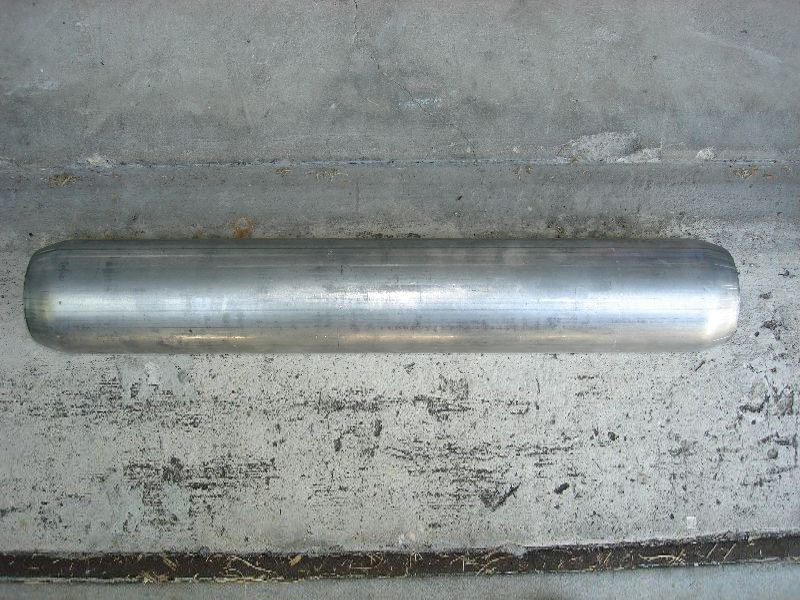
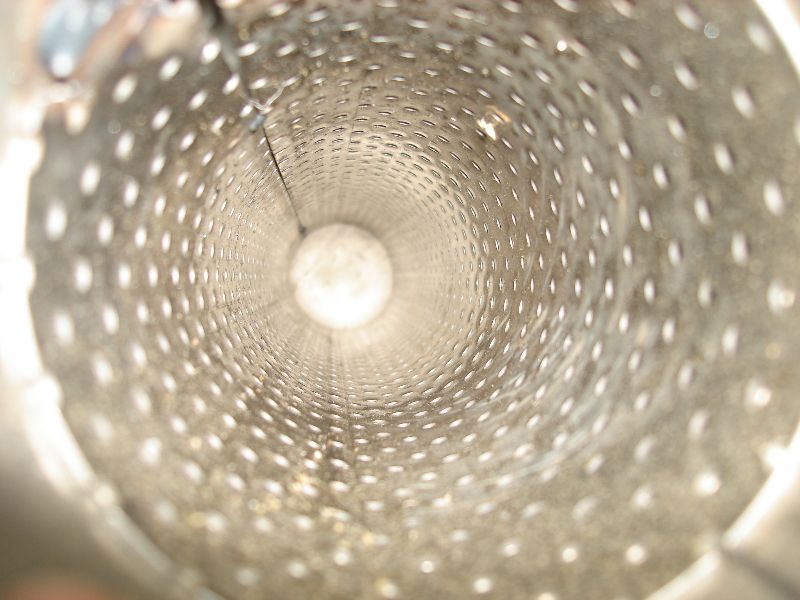
Here is the resonator and an inside shot of how it looks like:
The not so cool part was that we had to use the hammer to bang the underside of his car to fit one of the O2 sensors. That was fun! I was taking out my frustrations on his car for giving me the opportunity to work on it so many O countless times! another is the DeWalt abrasive cut-off disk I purchased at Lowes- It wobbled like hell! Maybe a bad piece or I should have went to HD!
Sun 8 Jul 2007
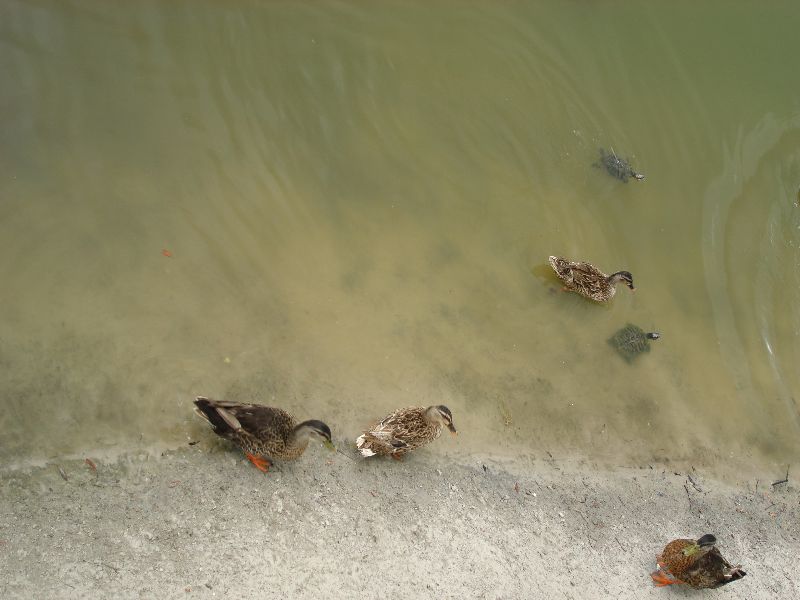
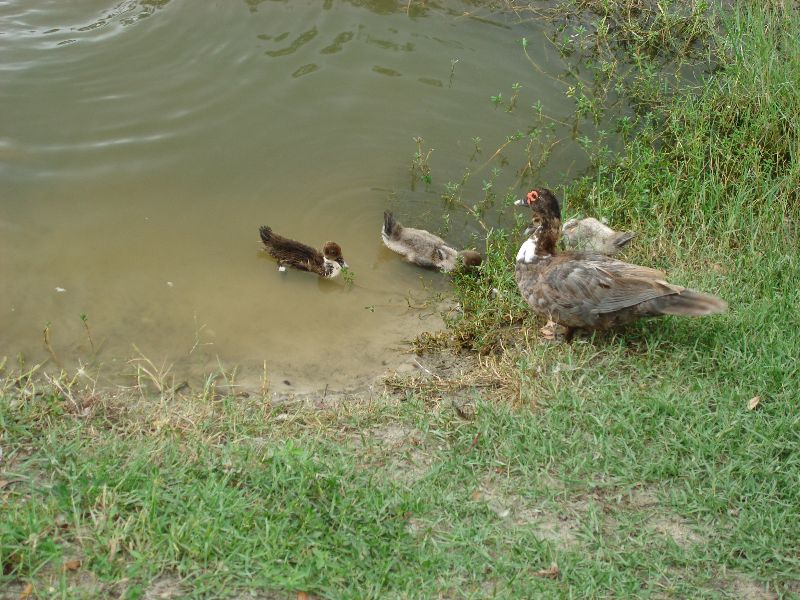
Went to a park and fed the ducks and turtles- it was fun! The turtles seem to be the ones losing out most because they get bullied around by the larger ducks in the pond. I tried to feed them equally but to no avail. Better luck next time turtles!
Wed 4 Jul 2007
That is ridiculous for just a drain line for a kitchen sink. It’s actually believable because plumbers charge a lot of money for simple jobs a simpleton can accomplish with very little effort if he has common handyman skills and how-to. For example, a plumber came to my friends office to install a new flush valve in his leaky toilet and charged him 180USD for the service. Isn’t that silly? It’s a good price for someone that doesn’t know how to do it themselves=) For something that costs you a little under 20USD from HD; 180USD service charge is quite pricey.
Had the house built a few years back and the contractor was nice enough to put a drain in the back porch for me free of charge. We didn’t use it until now. Until now, I thought it would work once hooked up but apparently not! They never hooked it up to the main sewer line. Just had the fixtures installed on the wall. A photo will describe this!
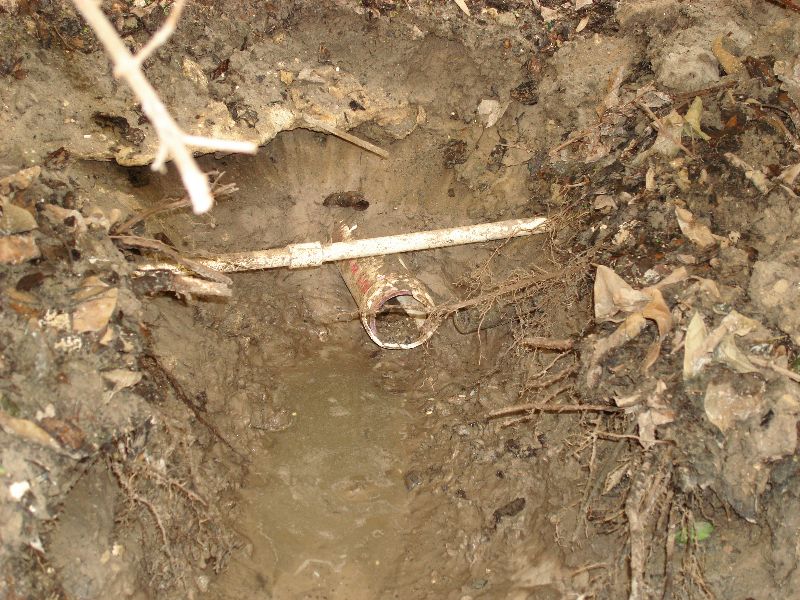
You see how they hooked it up? The only logical explanation I can come up with is that if they had it hooked up, they would not be able to pass code. I could tell because it looked like they had it hooked up but had to remove it and the broken end was the result of it.
I fixed it by digging a small shallow trench and adding the proper fixtures and elbows. I didn’t care about the pitch nor did I care about the code. I, however, did put the proper p-trap in which wasn’t required but just for a safety measure. The sink is draining. Everything else is just gravy baby!
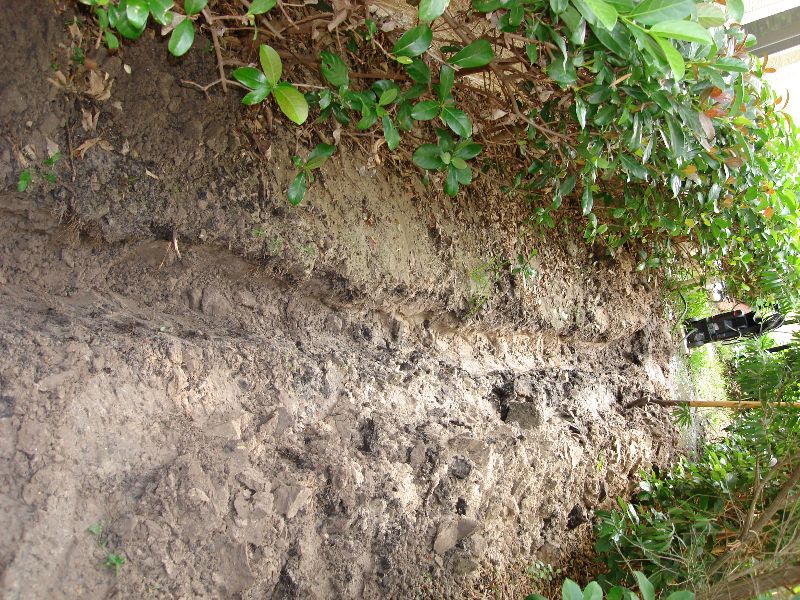
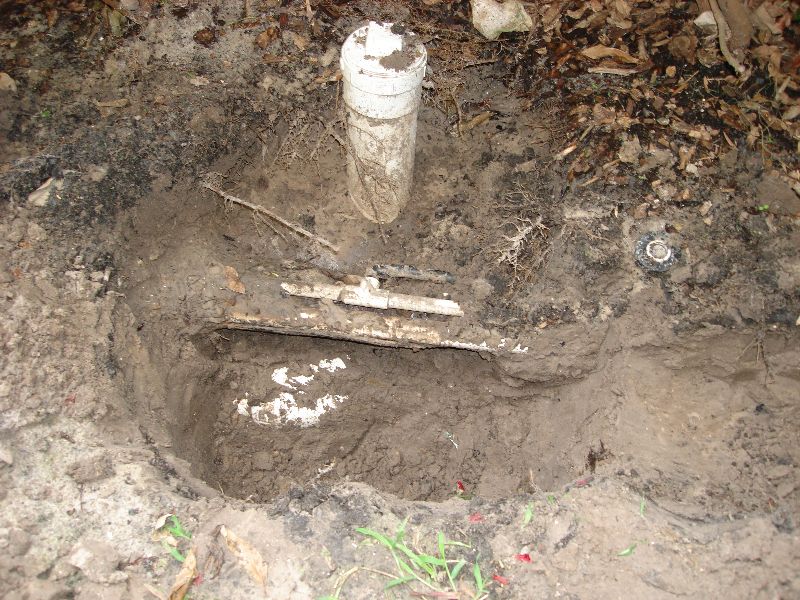
Note to self: sewer from house comes out as 3″ thin-walled pipe. HD does not sell thin-walled elbows and or fixtures- just the pipes. In order to mate regular thick-walled sch 40 3″ pipe to thin-walled piping, you must use reducers to go from thick to thin! Another note worthy of mentioning is that the reason why sewer rats and roaches are able to climb from pipe to toilet/sink/showere is because the 3″ sewer lines do not have any water in them if you do not flush or use the water. So it’s dry and thus allows those pesky critters to enter our homes. I saw it once. I roach emerged from my tub before.


