Sat 16 Dec 2006
[ratings]
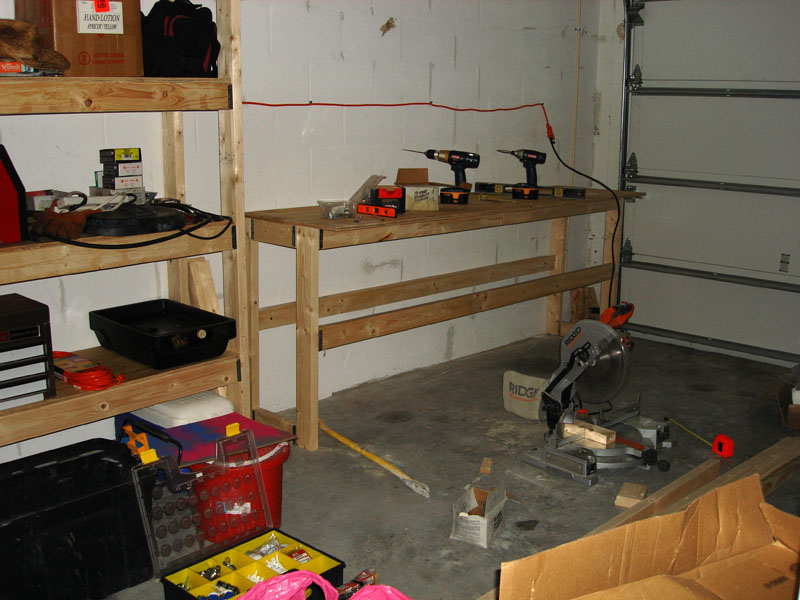
My first ever work bench! This measures 8’x23.75″x36″ (LxWxH). This is very spacious for me to work and tinker! I now don’t have to crouch over to do anything anymore! I can pull up a stool and work efficiently and not hurt my aging back. Take apart tools and tinker with remotes- all on this work bench.
I’m going to be purchasing a 6inch grinder and a vice to attach to the table. I have this table bolted to the wall so it’s not going anywhere. The counter top is 5/8inch think but by the time I’m done, it will be around 1.5inches think because I’m going to layer it with another 5/8inch board + metal sheet or either formica laminate. Most likely formica laminate but they can get pretty pricey. 45usd for a 4’x8′ (2/16 thick) formica laminate sheet.
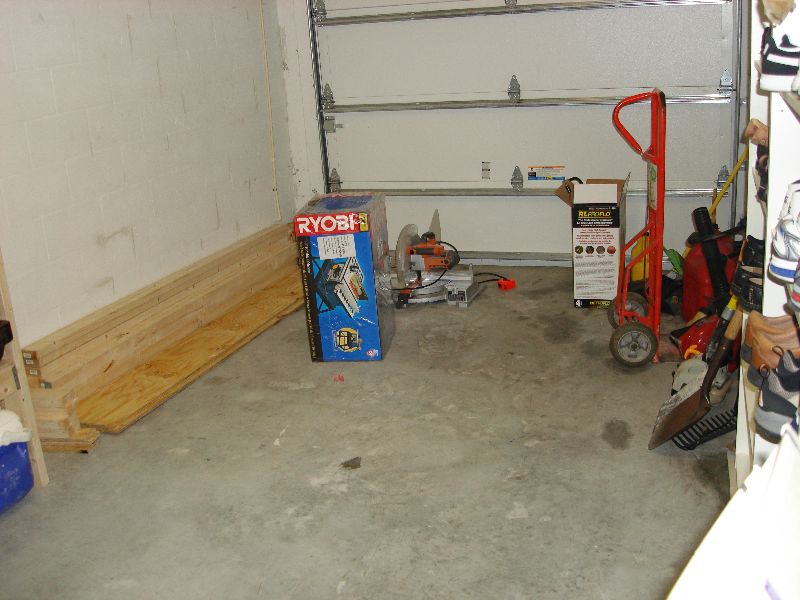
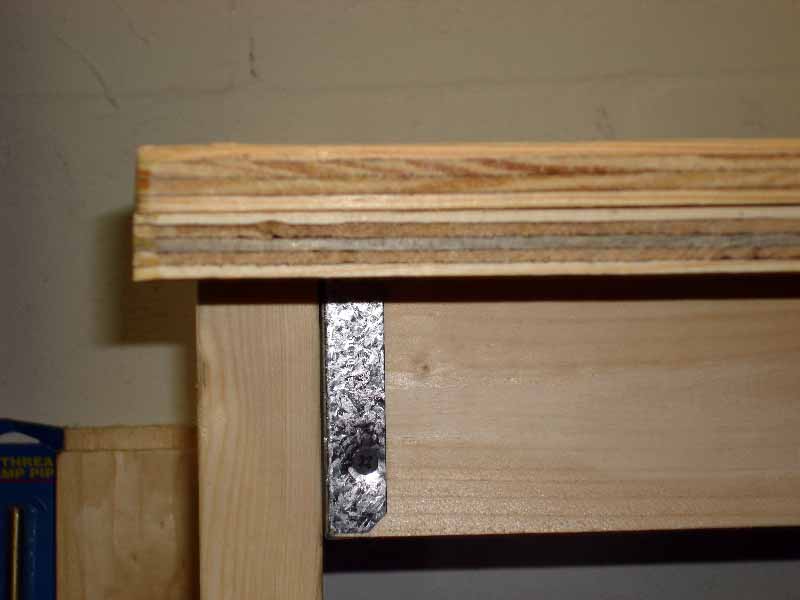
I builted this work bench table on the same principles as building my shelves. So I know this technique is very sturdy and will test the tides’ of time. I’m going to also add another board on the bottom for a small shelf for some more space to add tools. O, if you were looking and wondering why the extention cord is on the wall? Well, that is because I was lazy and I didn’t want to buy MC conduit. I did when I installed a 220v outlet for my electric water heater- that’s another post! Works for me. I’ll be done tomorrow!
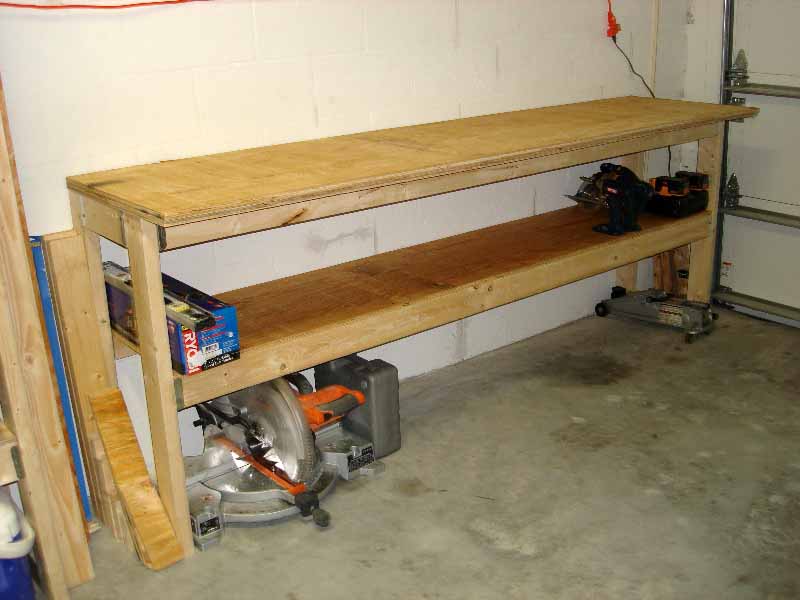
This photo shows the finished product. The Top is installed. I don’t know if you can see it or not but the top overhangs out six inches. The reason being is because I wanted to be able to slide underneath my knees while working as a secondary protection measure. Plus it gives me a total of 24inches of working space. I’m not complaining! Not to mention the top is 1.24inches thick and will hold a lot of weight.
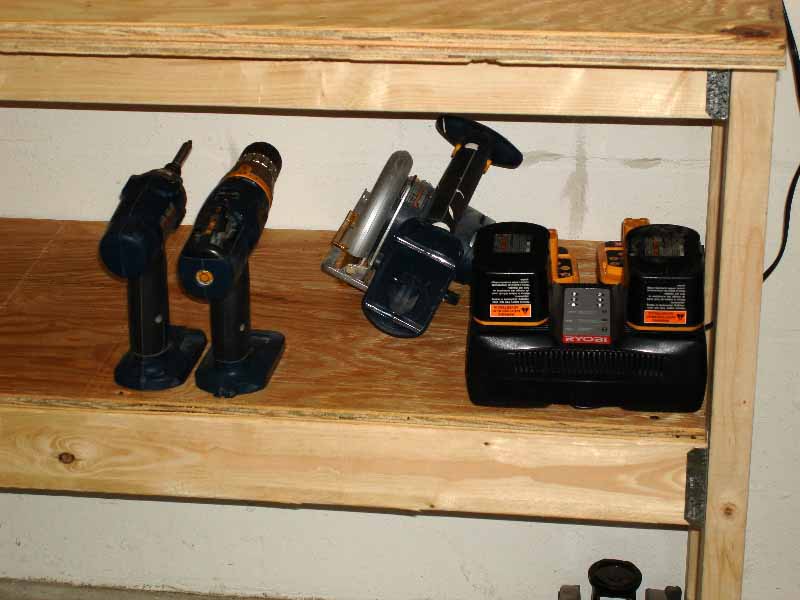
These are the tools that I use to make every darn project I do complete=) The charger you see on the bottom corner shelf, is brand spanking new. I purchased I drill set with two batteries and one single charger. I still have the old charger but I’m sure I’ll give that away or use it as a paper weight of some sort. You can read more on Ryobi HERE
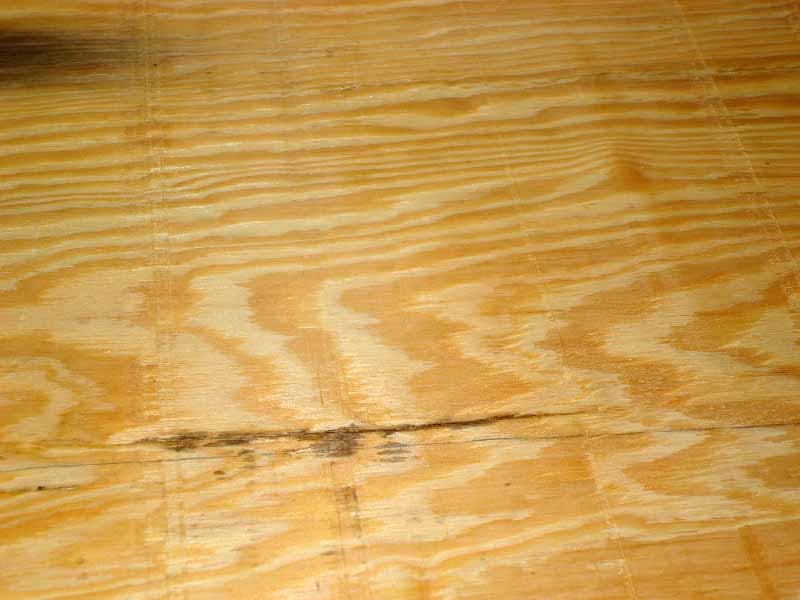
See how thick it is? I beveled the corners with a belt sander, also by Ryobi, and it turned out great!
This is the finished product when sanded. It’s so smooth. I don’t want splinters so this will eliminate or minimize the chances of getting a slivers or three.
2 responses to “My First Work Bench”
Leave a Reply
You must be logged in to post a comment.
GOOD LUCK with that my friend. Sounds like you will get a lot of splinters.
Thanks buddy but I took care of that situation. Sanded the whole darn top! No splinters for me=)