Sat 21 Jul 2007
55 Gallon Fish Tank Purchased At PetSmart
Posted by Diuternity under Unintentional Drifting[3] Comments
I purchased a fish tank at PetSmart today and I can’t wait to install it. Due to space constraints, I settled with a 55 gallon tank vs. the 75 gallon tank that I had in mind. The 55 gallon is just as long length wise but only 4″ to 5″ shorter in width. I was contemplating on whether I should get the 77gallon but can’t afford much needed space to satisfy the tank and give me walk way.
I’m so glad I got this tank because now, I can put all my fishes in one tank. I don’t know how many of my other fishes my Oscars swallowed whole but I’m sure the numbers are staggering and the piggy bank is sure enough, emptying with fast pace. I would like to see more room for my Oscars to swim in and hopefully fill up the new tank with more live plants. I want a jungle under the water!
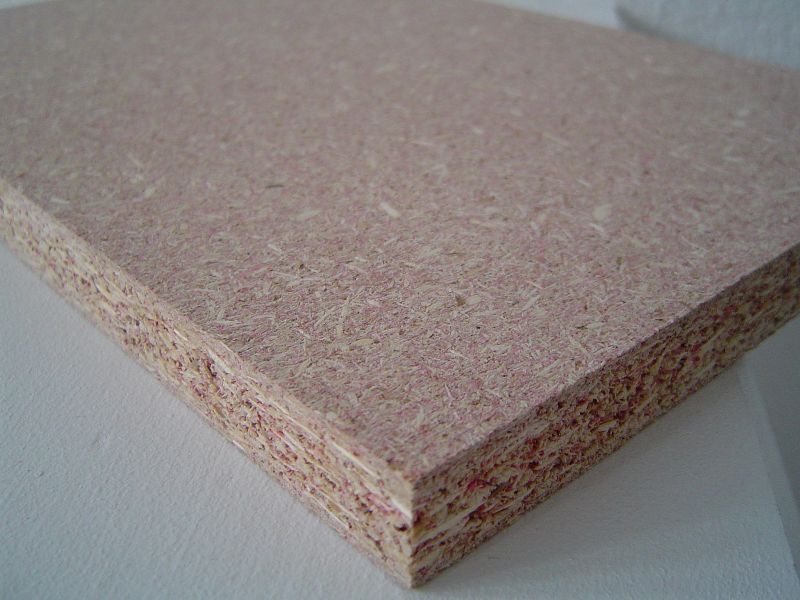
As of late, I just got back from my brother’s shop. He and I measured up and made great progress on the newly to-be tank stand. I wanted to go the quick and easy way but he sat me down and gave me a lick’n. So now, we are doing it his way eerrg, PROFESSIONALS! Mine would have been tacky and “useful” but he said: “I don’t build SHIT” so heheh, he’s making it all pretty for me with swinging doors and the likes etcetera etcetera. Funny how a stand would cost me 150USD and the one I’m building in materials alone, cost me 200USD minus labor. The only real difference is that the ones store-bought, is inferior because they are made of particle board:
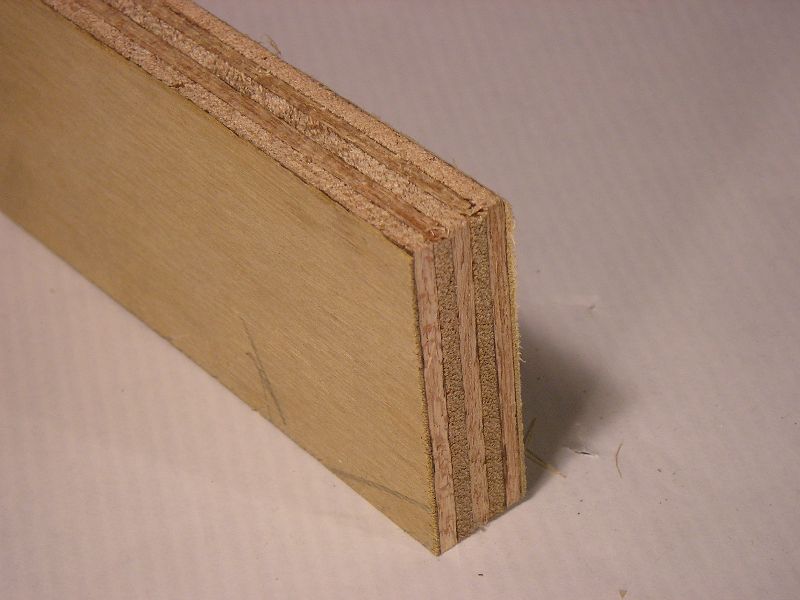
While mine is made of industrial plywood. Notice this plywood is made in Canada (I believe so) because the ones made in China is trash. I wouldn’t touch Chinese ply with a 20ft pole. I’ve seen the quality at Lowes before and I’ve seen them at my brother’s shop. He only uses them for kick stands. Not to mention how China can’t count. You order 12.7mm ply and they give you 11mm ply. Their thickness isn’t standardized for reasons I don’t understand. When I say China, I’m not referring to the whole Country; just the ones producing shit and exporting them. There are good companies that comply with US specifications and those company names are kept with utmost secrecy.
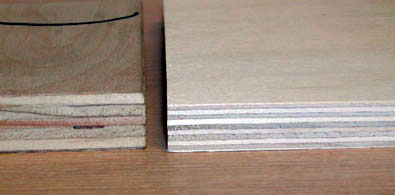
Here is a comparison: Canada/China Birch Ply respectively. As you can see, the China Birch uses more layers than Canada’s Birch. It’s not uniform and has voids and flaws in them. I cut a piece the other day and the China Birch shredded in two. Pieces being built today ends up warping the next. I’ve seen, I’ve made fun of it, I don’t like it.
I remember when my buddy purchased his 70 gallon tank, he had purchased the stand + tank from PetSmart as a matter of fact and let me tell you something; it wasn’t very sturdy so he had to reinforce it with 2×4 studs which beats the purpose of buying one pre-made. Not too many people have access to a carpenter or his tools=) I’m one of the fortunate ones!
All I really wanted was a strong box to support my tank (500+ lbs once filled with water, fish, rocks, etcetera…) and room to put my fish flakes and chemicals. O well, he knows best- it’s not like I do carpentry work for a living (lol). I think I’ll finish tomorrow. All the pieces are cut out, sanded, sprayed with the shiny stuff and left to dry. I got to come by tomorrow and sand + stray the shiny stuff on it again.
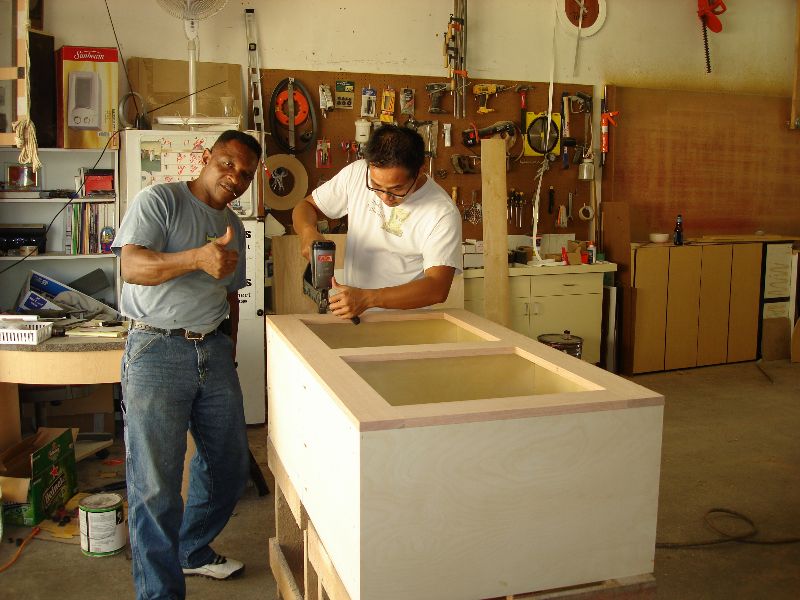
Anyhow, this kind of illustrates the many steps we took to finish my tank stand. The chocolate guy you see in the photo is my dearest friend Ike. He is the funniest black fellow you’ll ever meet. Drinks a lot, talks a lot of shit and tells wild stories to keep us company. The girl you see in there is my brother, Young. My buddy Jimbob said that his girlfriend holds onto his pony tail when they do the nasty=)
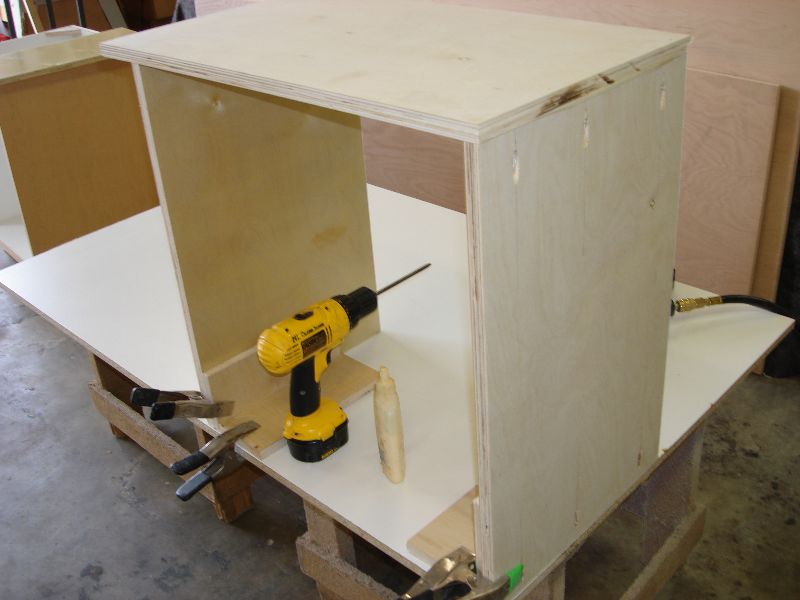
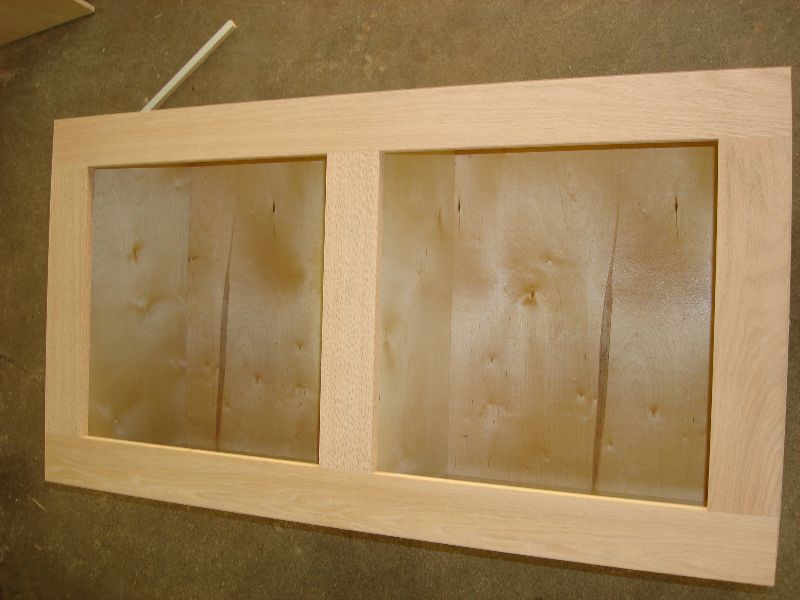
The saw you see shall be mine within the weeks. My brother is getting a new one and he promised to give me this old one. Free is for me! The stand measures 48.78″X15.75″X26″ and my tanks is roughly 48″X14.75″X12″. All pieces were cut to correct desired dimensions, then glued and stapled together accordingly.
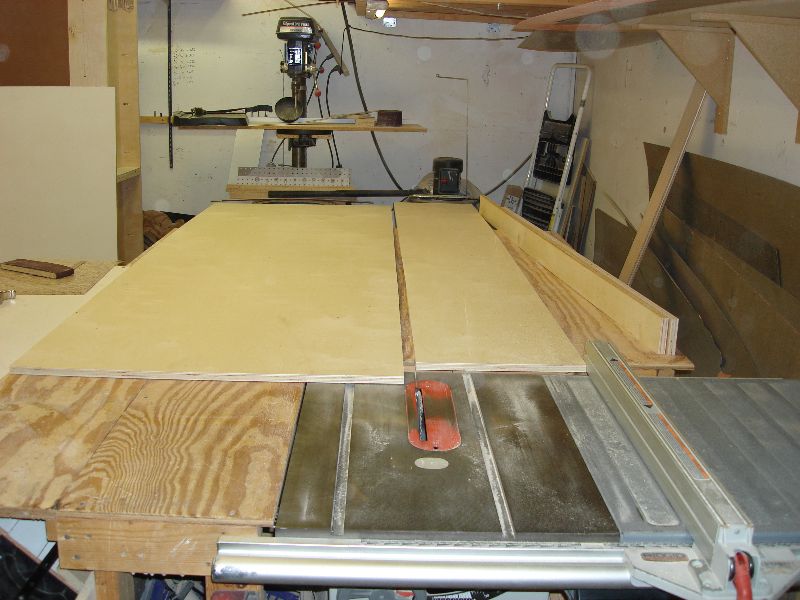
This is a jig we had setup to align the many pieces before we could glue and staple them together. Pretty simple yet very affective. Tried aligning those pieces by hand, gluing them, and stapling them at the same time!
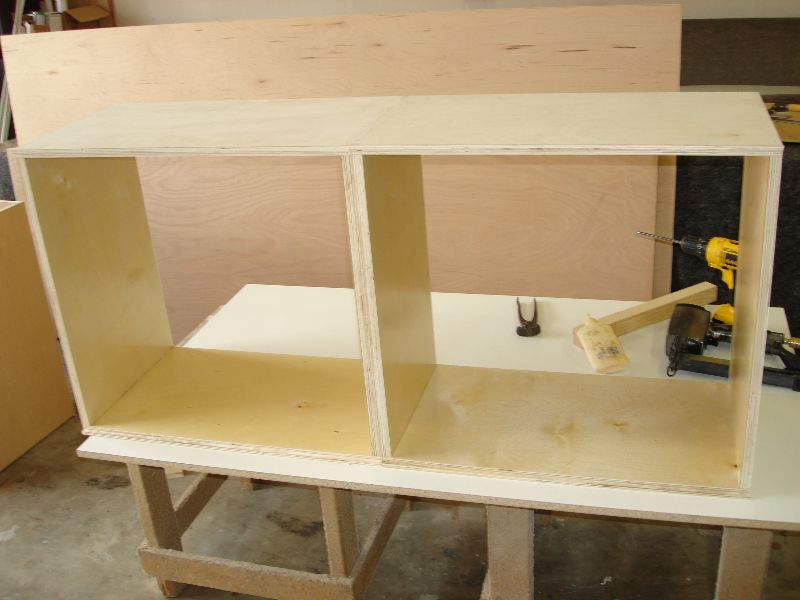
The next two photos you’ll see the boxes assembled and both will be glued together to be able to support the tank.

Ike and I. Thumbs up for an awesome job!
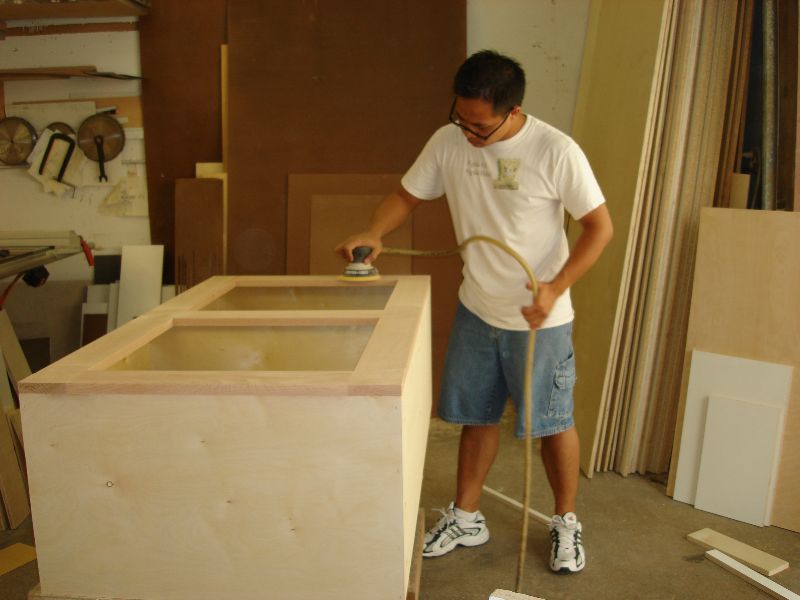
Sanding was a pain in the but! Very dirty job. Thank god we had gigantic fans blowing them out of my face!
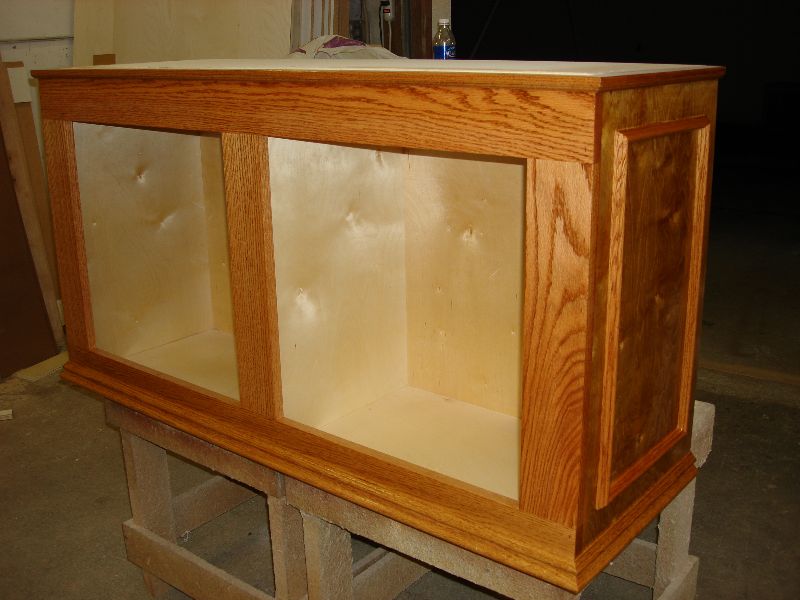
The finished product after sanding. You can’t see the staple holes anymore because they were all filled by wood putty!
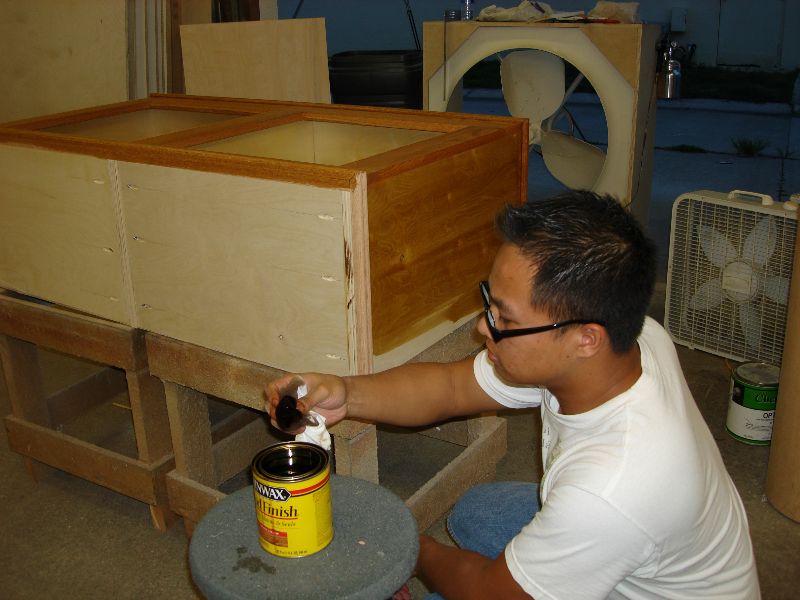
Now I’m staining the wood. Looks great! I’ll have to get the name of the stain so just in case in the near future I need it.
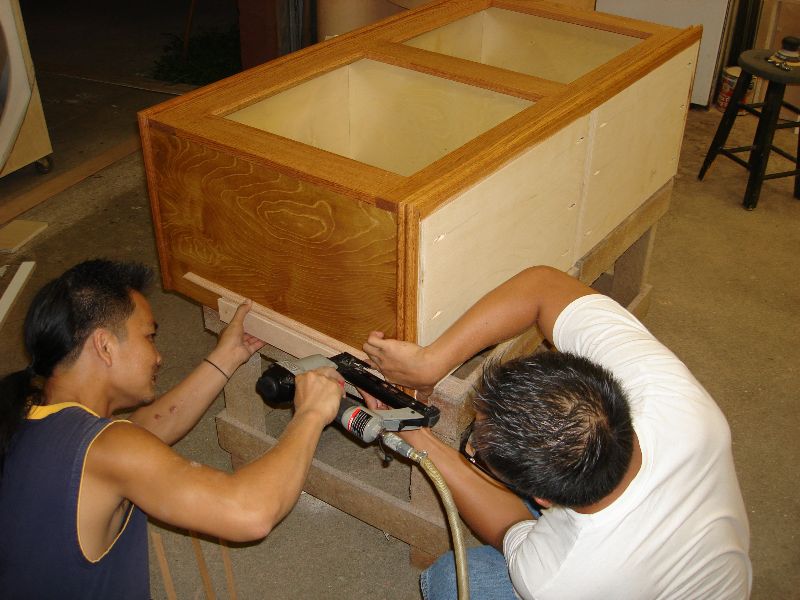
Young and I putting on frames on both ends for decor. Makes the stand look even more attractive. Gives it some defining lines!
I’m done with the staining. What do you think? Looks good?
Tomorrow I’m going to put on the doors. I don’t think I’ll add shelves though. No need!
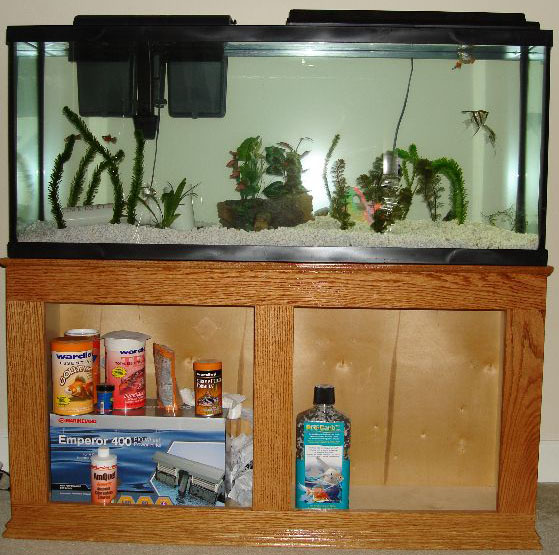
Still NO doors yet! I’ll add them in later- not very important at this vary moment.
Building Fist tank Stand : Tank Stand
3 responses to “55 Gallon Fish Tank Purchased At PetSmart”
Leave a Reply
You must be logged in to post a comment.
Wow, what great observations. 🙂
Looks pretty snazzy baby. Nice paint job. I really like it. I guess mr. fix it delivers.
Be even better once I have that saw! I can build me a library or maybe a snazzy bookshelf to store all my books. Yippie!